Setup with Loftware Cloud subscription
To activate your Loftware software, connect to Loftware Cloud.
-
Complete Introductory setup steps.
-
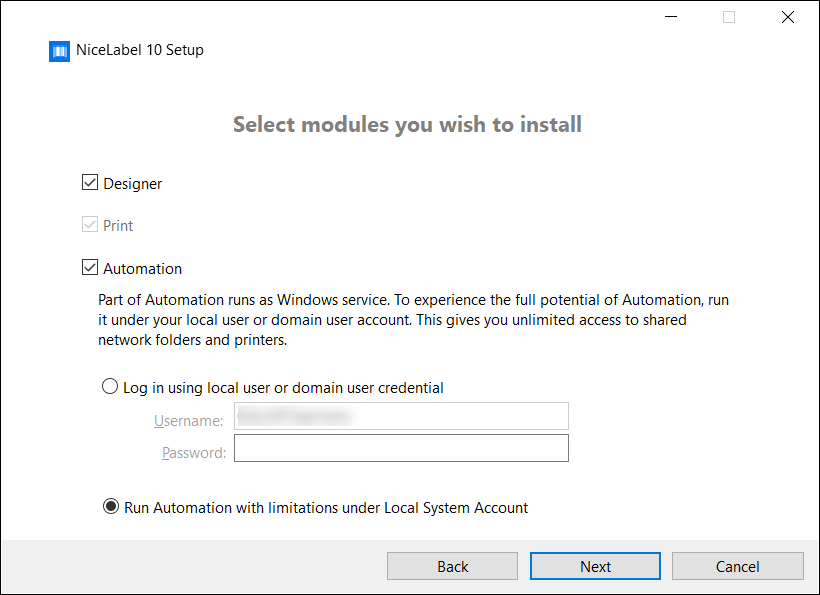
Select the modules you wish to install.
-
Select how you are going to run Automation.
Tip
This step is necessary only if you decide to install Loftware Automation.
Type in the account under which the Windows services are going to run. Make sure you use an account with access to printer drivers and label files. These files must be accessible even if they belong to network shared resources.
Note
We recommend using standard or administrative user accounts. The Local System Account has limited access to network shared files and printers. It requires additional work when setting up printers to make them work correctly.
Note
If you upgrade from NiceLabel Desktop Designer, installation won't prompt you for a user account but will set the Local System Account instead. Make sure you manually change your account to a standard or administrative user account after you install Loftware Designer. Open the Services console and navigate to Loftware Automation Service.
-
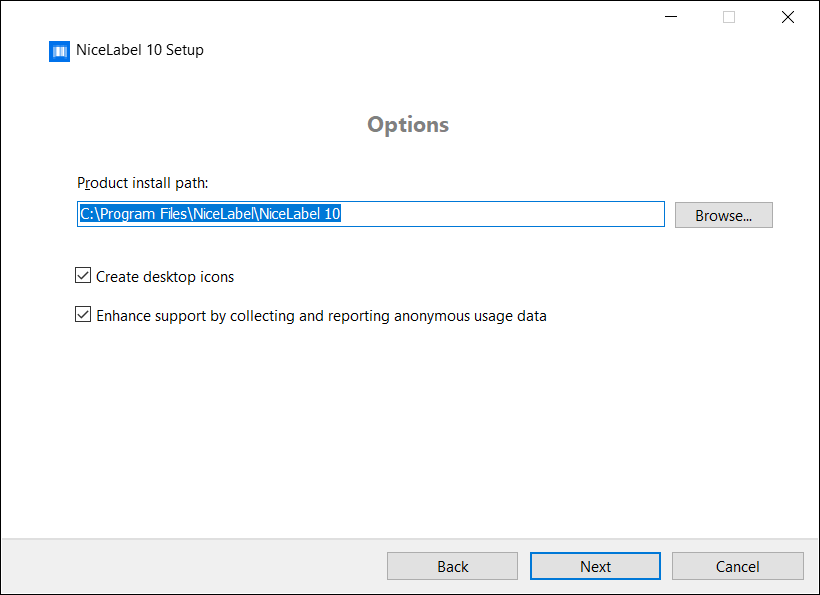
Define installation path and decide if you want to share your usage data with Loftware or not. Anonymous usage data helps Loftware improve the applications and therefore increase your productivity.
-
Click Next. You are ready to start installing your Loftware .
-
Click Install. The installation starts.
-
When the installation completes, click Close.
-
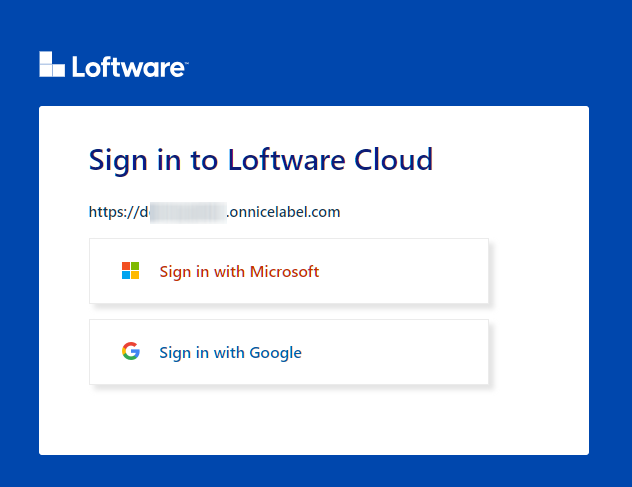
Run Loftware. The Loftware Cloud Sign-in window opens.
-
Type your Loftware Cloud name and click Connect.

-
Sign in to your Loftware Cloud using Microsoft or Google account. Use the account you already have for your Loftware Cloud.
-
Follow the on-screen instructions. Your Loftware connects to the Loftware Cloud. You are ready to start designing labels and solutions.