How to Execute an LLM or LPS Repair in Windows
Description
In the event your Loftware Label![]() A label is a design area on the computer screen where a label format is created or edited. Manager (LLM) or Loftware Print Server (LPS) installation becomes corrupted, it may be necessary to perform a repair of the application installation. Please review the following information before executing this process:
A label is a design area on the computer screen where a label format is created or edited. Manager (LLM) or Loftware Print Server (LPS) installation becomes corrupted, it may be necessary to perform a repair of the application installation. Please review the following information before executing this process:
Users should always follow best practices and back up all the data contained in their software installation(s) before making any changes to their system.
Users should have local administrator privileges on the host machine for making changes.
A reboot is required to complete the process. Failure to do so will cause issues. User(s) should plan accordingly before running the repair.
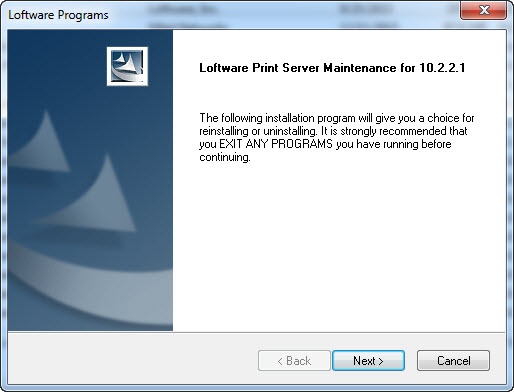
How to run the Repair process on Windows Systems
- Go to Control Panel > All Control Panel Items > Programs and Features, and then select Loftware Programs.
Note: Navigation to Programs and Features may vary depending on your version of Windows.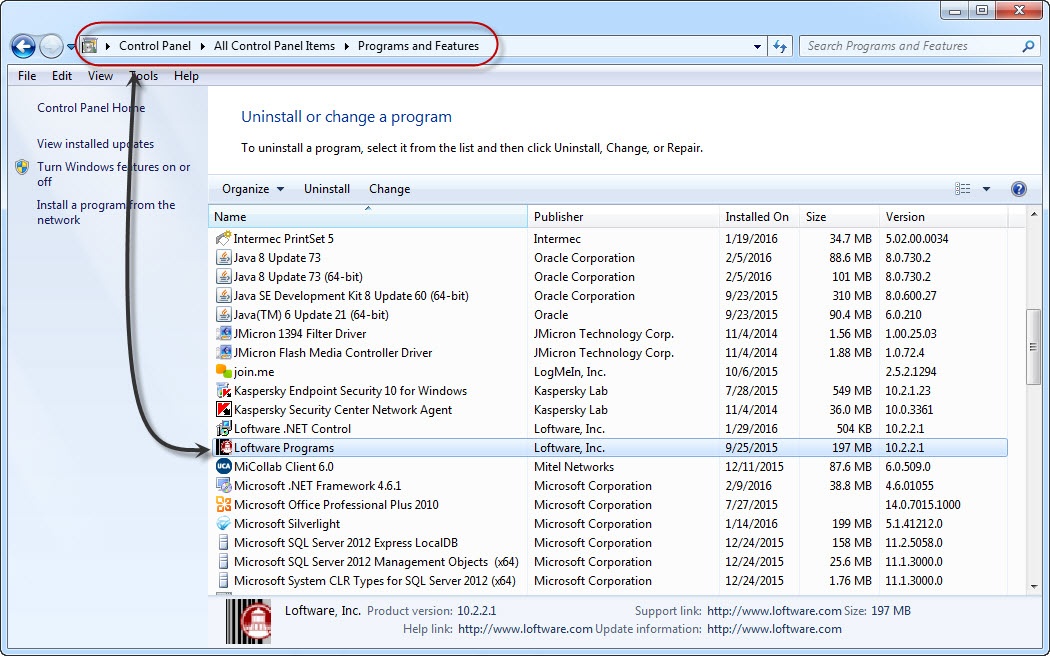
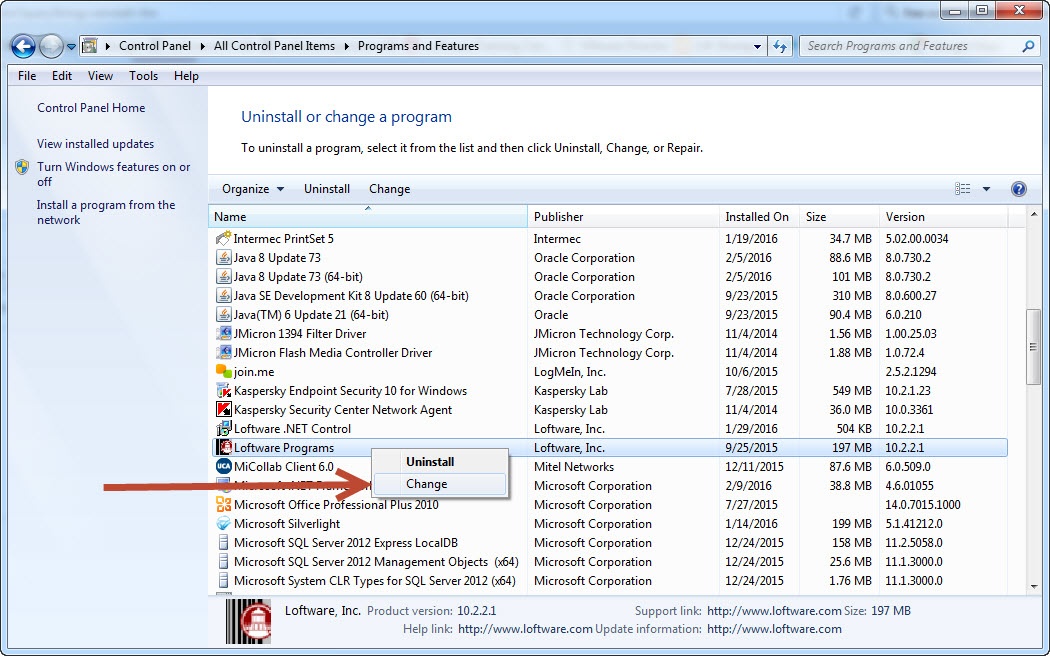
- Select the Change option to begin the repair process.
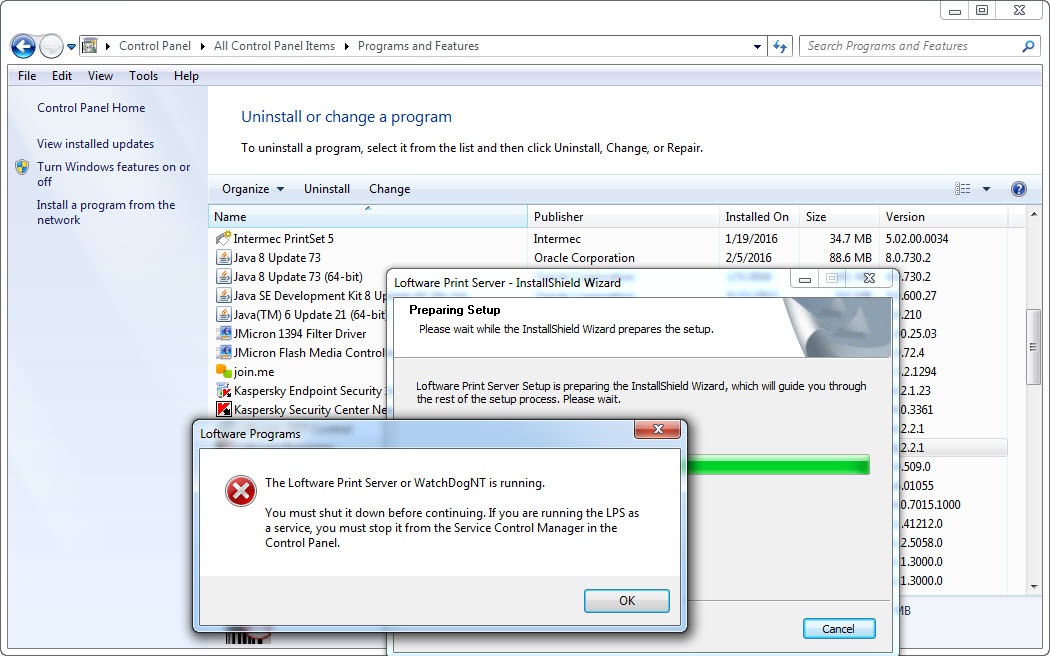
- If LPS has previously been installed and the service is still running, you will see the following error:
- To locate the service, click the Windows button, enter services in the search box, and select Services from the list.
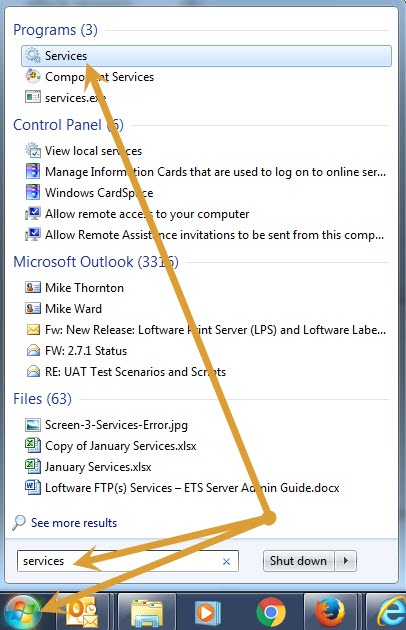
- Stop the Loftware Print Server service.
- Return to the repair process and click Next.
- Select Repair and then click Next.
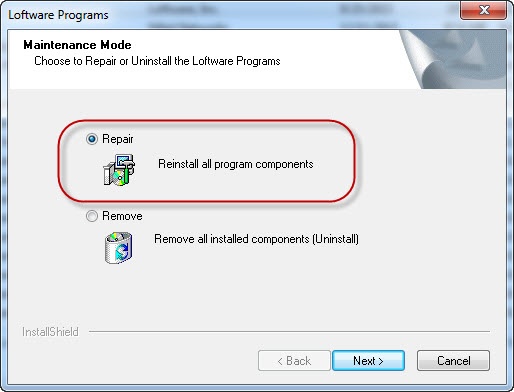
The progress bar is displayed.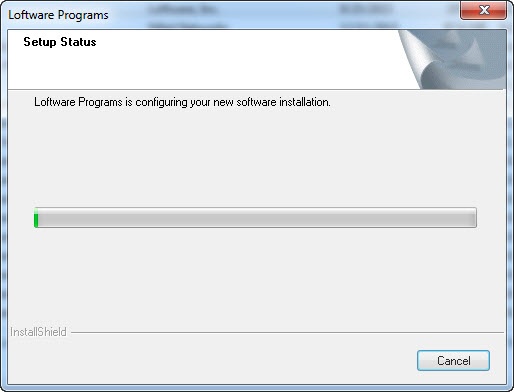
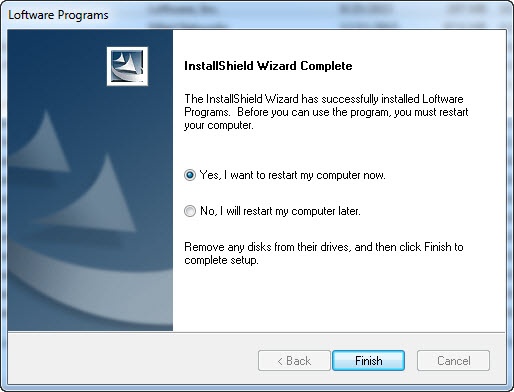
- Once the repair process completes, click OK in the prompt to reboot your system. A reboot is REQUIRED to complete the repair process.
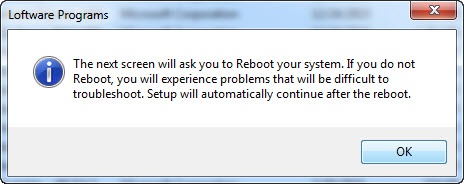
- Select Yes and click Finish to restart your computer.
- After the system restart, the user will be presented with a Loftware post-boot dialog. Click Next to continue the operation. Various steps are displayed as shown in the following image.
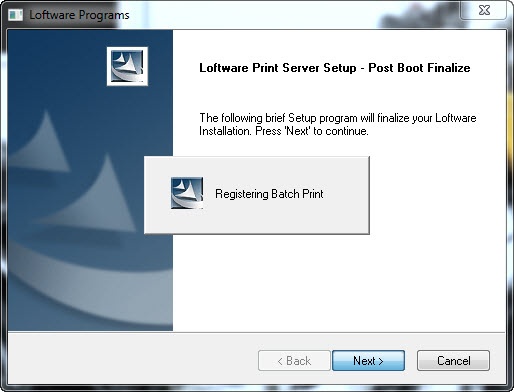
-
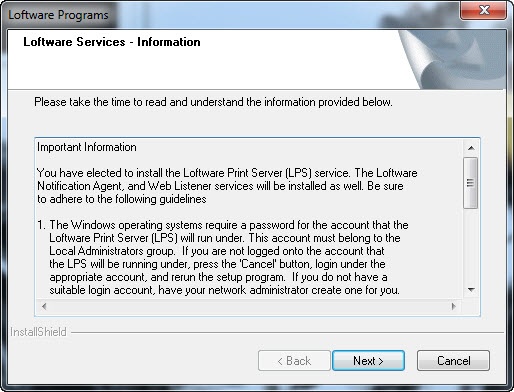
If LPS has previously been installed, you may see an additional dialog box with some account details. After reviewing the information, click Next.
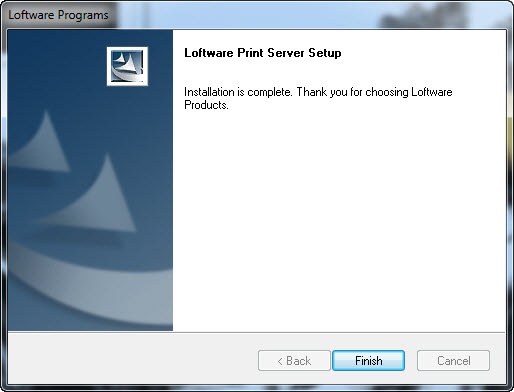
- Once the operation completes, the the completion dialog is displayed. Click Finish to close out the dialog box.
Article Number
2017117
Versions
All supported LLM and LPS versions
Environment
All supported Windows environments