Using Bullzip as a PDF Printer
Description
How to set up Bullzip as a PDF Writer through the windows printer spooler.
Setting up Bullzip
-
Download the latest version of PDF Writer BullZip from their web site www.bullzip.com.
-
Open the download and install it on the target computer.
- If this is an LPS computer make sure you are logged in with the same credentials as the LPS service.
-
The program will ask if you want to download Ghostscript to write the PDF files. You must get this program to create PDF's, the rest of the program is just the print spooler setup program.
-
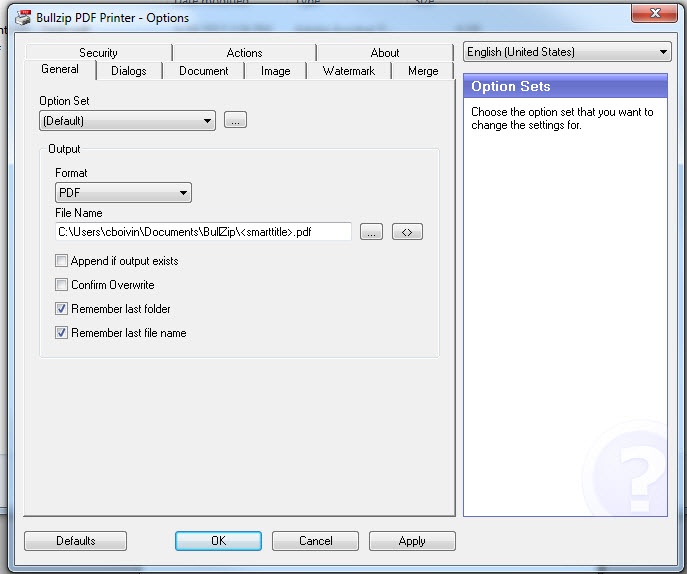
After you run the setup program, change the following settings using the OPTIONS shortcut from the Start menu:
- The LPS machine must be able to download this add on / update to work properly
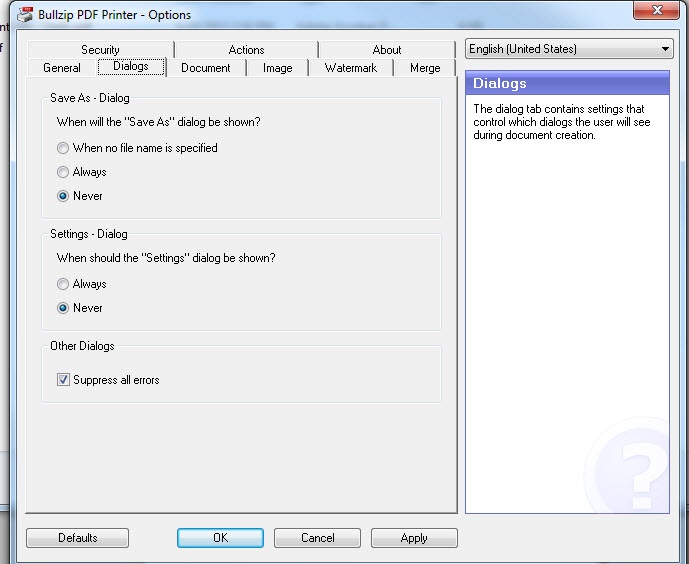
On the Dialogs tab:
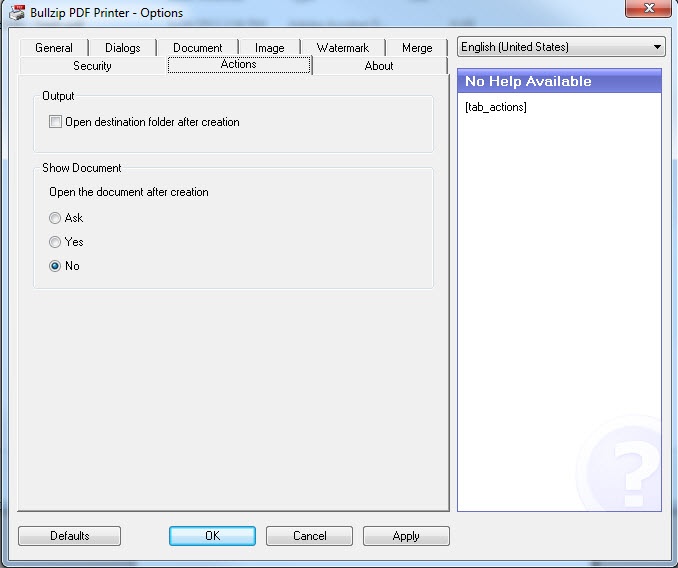
On the Actions Tab
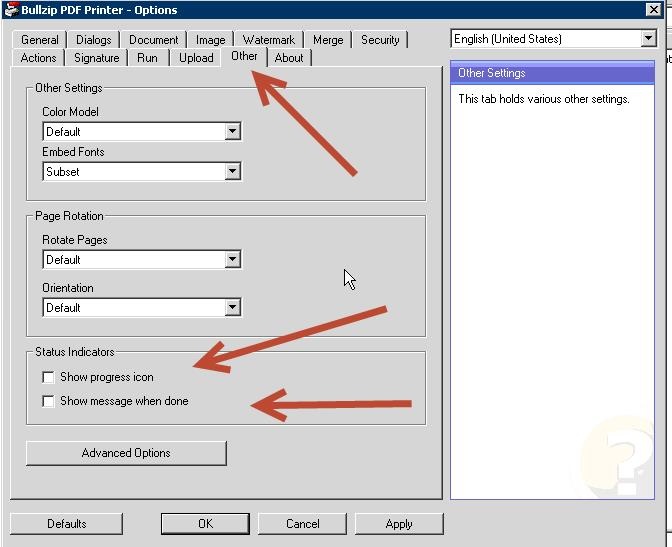
On the Other tab
Result
The PDF writer must be set to not interact with the desktop so all the following notifications and dialogs need to be turned off:
- - do not prompt to save the file
- - do not prompt to open the file after saving
- - set the filename to be autonamed
- - do not prompt to overwrite a file with the same name
- - do not Open document after creation
The BullZip program will create a local print spooler, but the properties of the print spooler are unique to each logon.
Note: The logon used to install BullZip must be the same as the LPS logon for this to work properly.
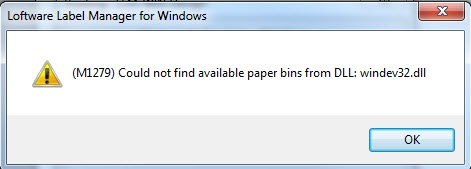
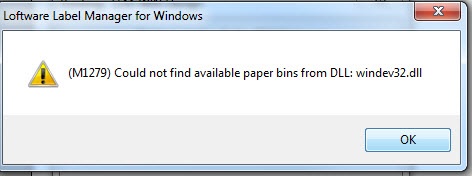
When running through Design 32 you do get the following error:
Click OK and then this error displays:
Click OK and the job will print successfully using Design 32.
When using the Loftware Print Service the errors above are supressed and prints as expected.
Article Number
2014032
Versions
Environment
All supported installation environments.
