LPS Print Service Fails To Start in LPS Configuration With Mapped/Networked Scan Folders
Problem
LPS Print Service fails to start. This scenario applies specifically to LPS configurations that contain mapped or network drive scan folders that the LPS service is monitoring.
Explanation
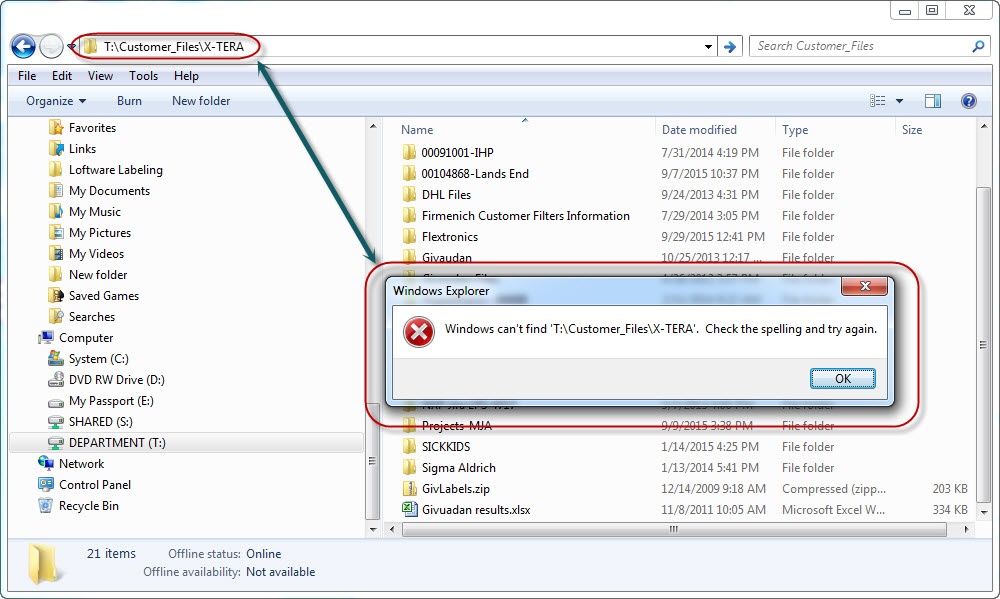
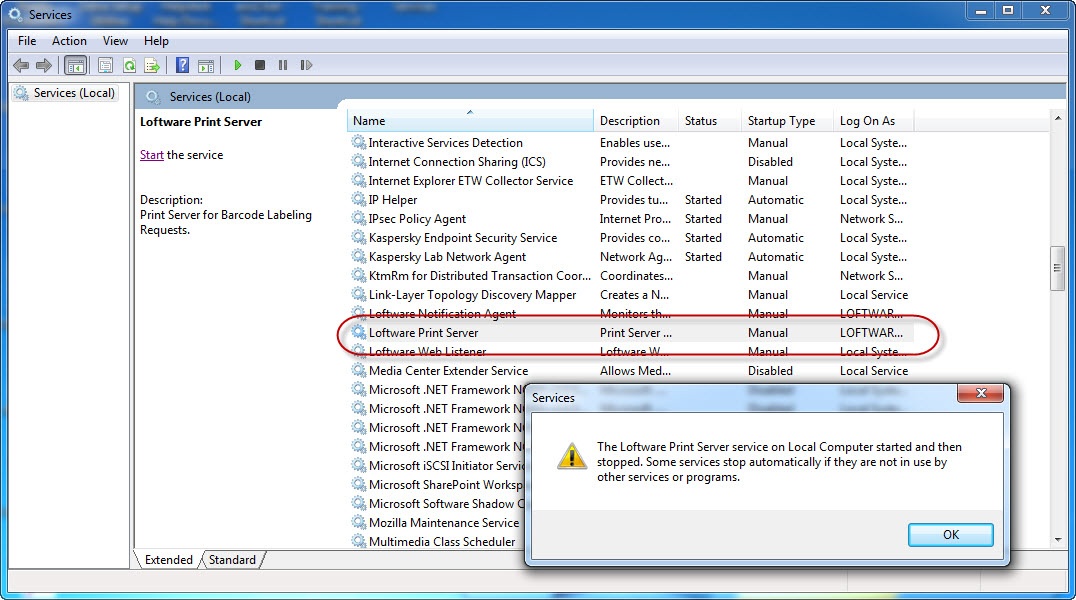
This error occurs when one or more of the mapped/network drives become unavailable (to the LPS server) and the LPS is shut down and restarted after this change occurs. Starting the LPS Print service within the LPS console (WDCplEXE) application may fail to generate an error on restart. Root cause is not obvious or evident to the user. The user will note that label files are not processing as expected. The service launch fails after not being able to connect to the mapped/network locations, regardless of how the service is launched (includes Windows Services control). If a mapped or networked scan folder name/path has been modified while this service is still running, it has no way to detect this at the time of the change. Only when the service is restarted will the system try to verify each of the scan paths and then fail the restart operation. Below is a sample of what a user may see when trying to start the LPS Printer service from Administrative Tools|Services in the Windows operating system: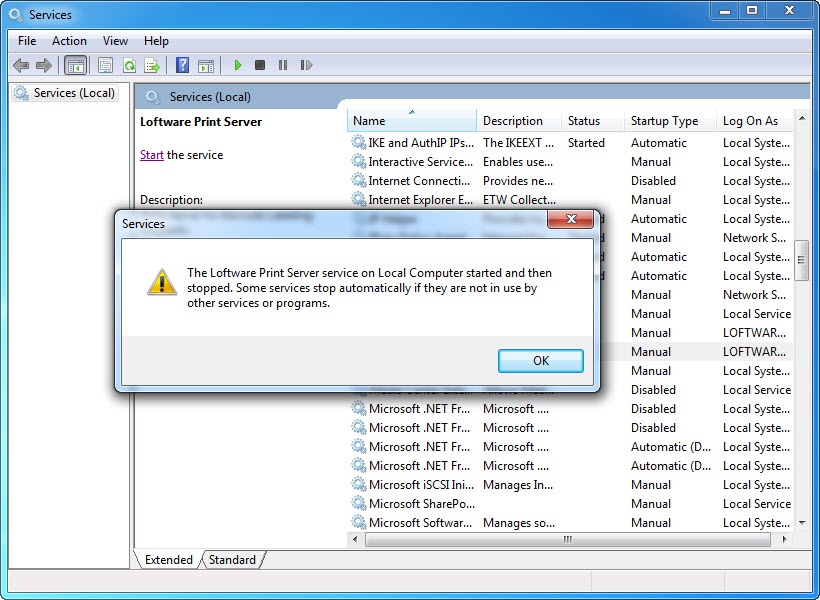
Solution
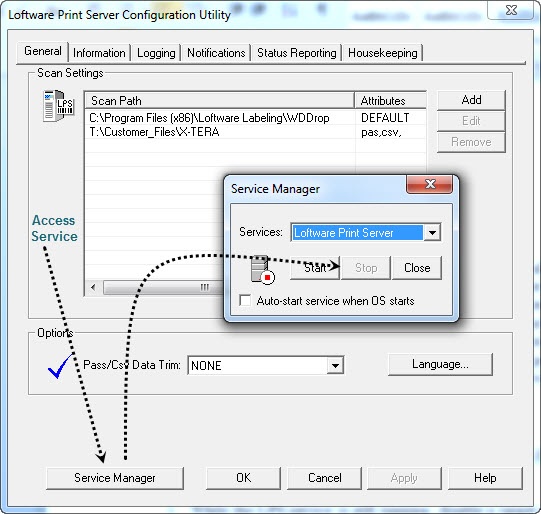
- Launch LPS Configuration Utility.
- Examine all configured scan paths.
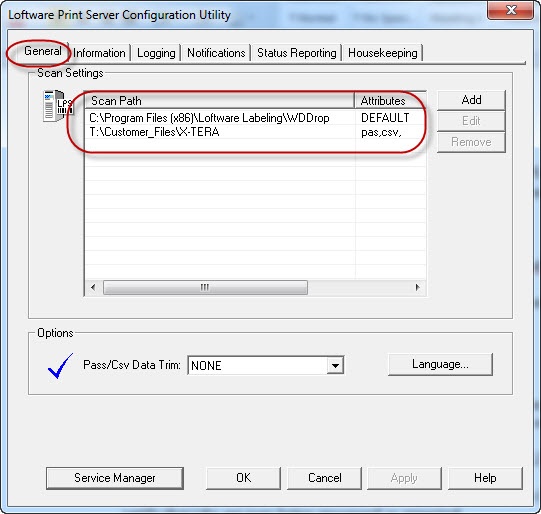
- Note any entries that are either mapped or network drives (any entry other than a local drive).
- User will need to verify all mapped and/or network scan locations configured in LPS. User can independently confirm this using Window Explorer to see if they can navigate to the mapped/network folder and view its contents while logged in as the same user account running the LPS service.
- If any of the assigned folders cannot be reached, the associated LPS scan folder entry should be removed.
- Once all of the mapped/network folders are validated, restart the LPS Print service and verify that jobs are now being processed as expected.
- If the target folder is a required source for production, Loftware Administrator/User should contact their IT group for assistance on regaining access to the identified remote folder location.
Additional Diagnostic Information:
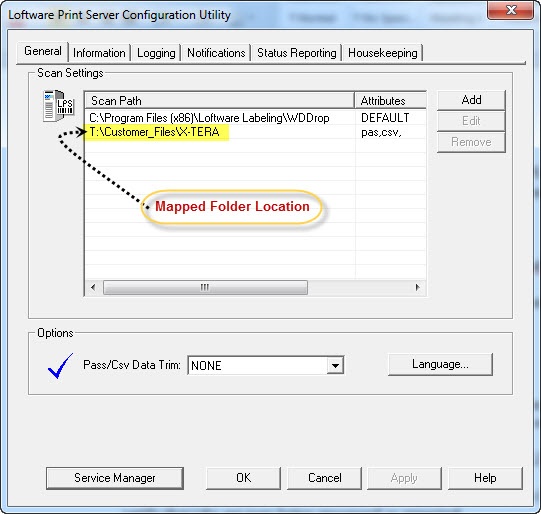
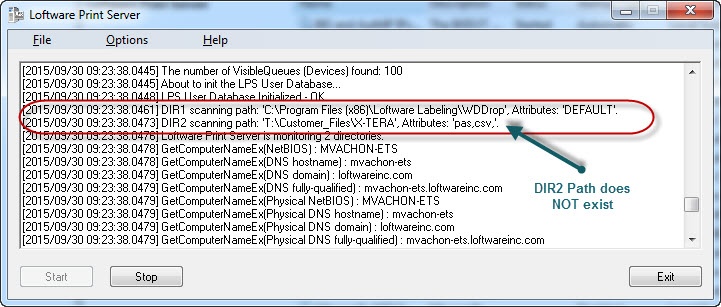
To demonstrate a further diagnosis of this problem the following two scenarios cover the same error condition for both a mapped scan folder and a networked scan folder that no longer exists. The first example is for a mapped scan folder and it's path is shown as 'T:\Customer FIles\X-TERA'
-
Log into the LPS server using the same account running the LPS service.
-
From the LPS console, click on the Service Manager, and stop the Loftware Print Server service
-
Click on Start to restart the service
-
User will note that the service doesn’t start and files are not being processed to the label printer(s)
-
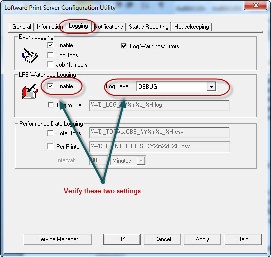
Click on the Logging tab and enable Watchdog logging and set level to debug
-
Close the LPS management console
-
Start the LPS Interactive Service
-
Click the Windows button
-
Select All Programs
-
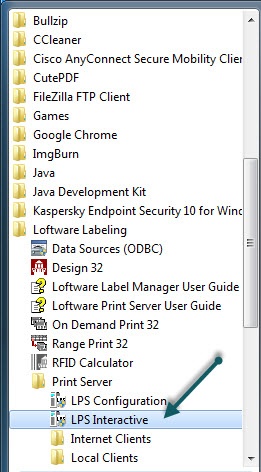
Find the Loftware Labeling folder and expand.
-
Click on LPS Interactive
- Launch the LPS Interactive and attempt to restart the LPS Print service
- Note that the dialog window may or may not show any errors when attempting to set the DIR# scan paths.
- Note that the LPS Print service is still not running
-
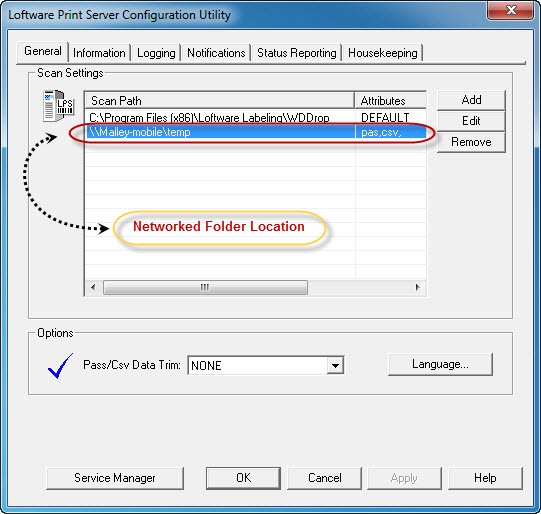
The second scenario demonstrates an LPS configuration that has a scan folder that are on a network drive:
-
Follow the same steps in the example above
-
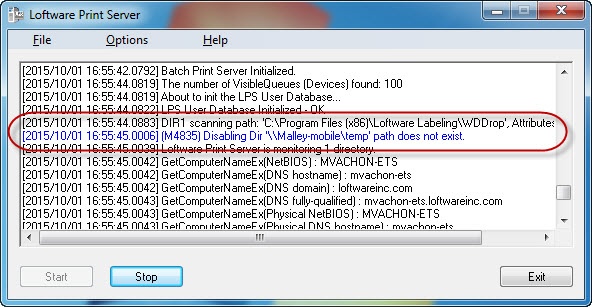
In Step 6.c, the LPS Interactive dialog will actually contain a warning about not being able to reach the network folder. The message in the LPS interactive dialog will look similar to this:
-
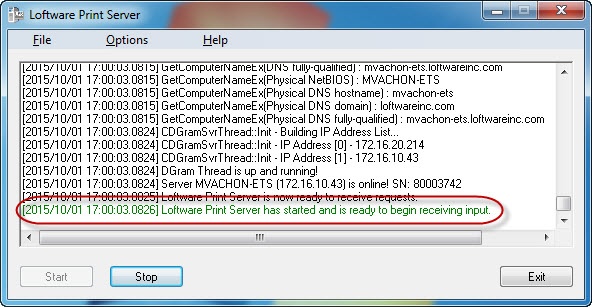
Additionally, the LPS Interactive dialog will report that the service has successfully started, even though it hasn't
-
When trying to start the LPS Printer service from Administrative Tools|Services in the Windows operating system, the user will see this message:
Refer to the Solution section above to resolve.
Article Number
2017066
Versions
All supported LPS family product versions
Environment
No specific environment considerations