Set up Automation Failover Cluster
To enable Loftware Automation in a high-availability (fail-over) cluster:
-
Install Loftware Automation on all nodes.
-
Enable the Microsoft Failover Clustering feature on your Windows Servers.
-
Create a network-shared folder accessible to all nodes with full privileges to Loftware Automation. Automation will copy system files to this folder. You can also store your printing solution files in the same folder (.misx, .nlbl, images,...)
-
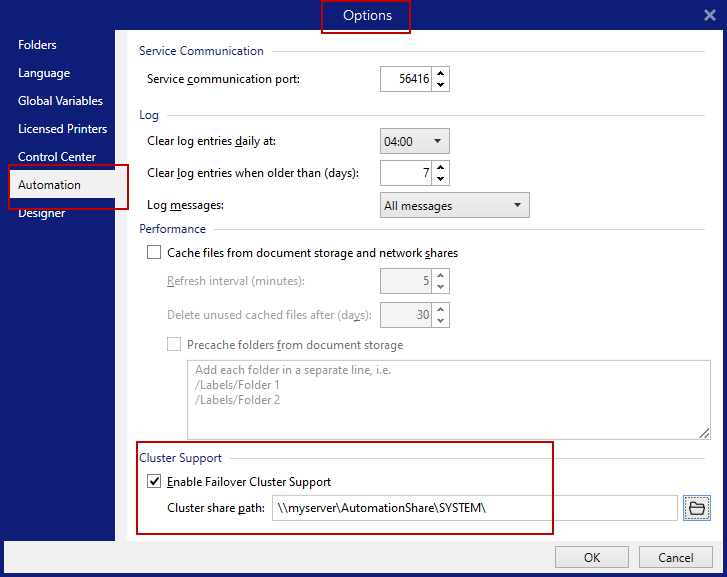
On all nodes, open Loftware Automation Builder and go to File > Options > Automation. Select the option Enable Failover Cluster Support and enter the network shared folder path you defined in a previous step.
-
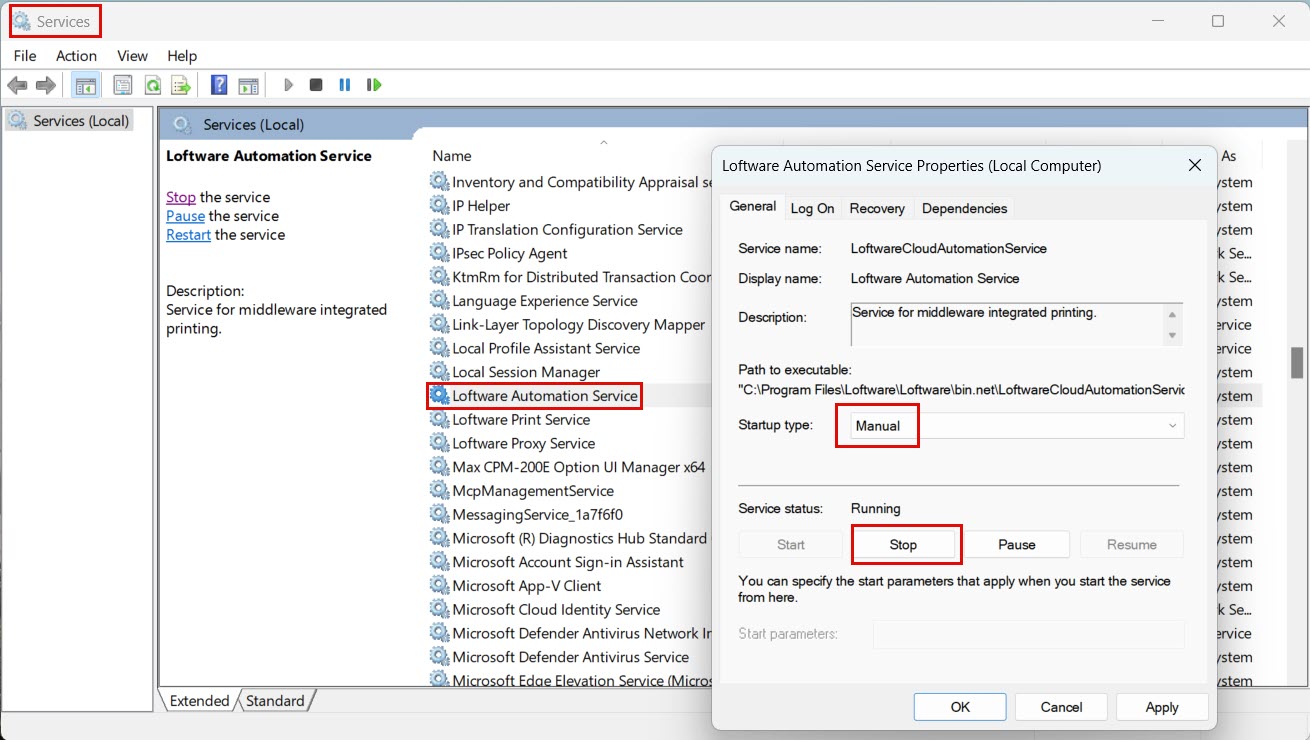
On all nodes, go to the Services console. Select Loftware Automation Service and on the General tab set Startup type to Manual. Then Stop the service.
-
Add Loftware Automation Services to your Failover Cluster Manager:
-
Open Failover Cluster Manager.
-
Expand your cluster and go to Roles.
-
Select Create Empty Role. Enter the name of the role.
-
Click Add Resource > Generic Service.
-
Add Loftware Automation Service and Loftware Proxy Service.
-
Create dependencies for Automation Services. Open Loftware Automation Service and go to the Dependencies tab. Insert Loftware Proxy Service.
-
(Optional) You can set which Automation configuration file (.misx) will open at starting the service. Go to the General tab and enter the path to the .misx file in Startup parameters. .misx file must be stored in the shared folder that is accessible to all nodes.
-
Click OK.
-
Your Automation failover cluster is now set.
To test the Automation failover cluster, right-click the newly created role and select Start role. Select the Owner node which is currently active. You can reboot the active node or switch to another node. Right-click on the role and select Move. After a few seconds, the Owner should change and Automation is now running on the new node.