Installing and activating Desktop Designer
Use Desktop Designer to design, edit, and print your labels. In Desktop Designer, you can drag and drop text, barcodes, and picture objects onto your label templates and connect your objects with the data you already use.
Important
To print and see your printers in Control Center, you must connect your Desktop Designer to Control Center.
After you have successfully activated your product, do the following tasks:
- Downloading and installing Desktop Designer
- Activating Desktop Designer and connecting to Loftware Cloud
Downloading and installing Desktop Designer
Install Desktop Designer on the computer your printers are connected to.
-
In Control Center, go to your
Dashboard > Download Software section, and clickDesigner & Automation .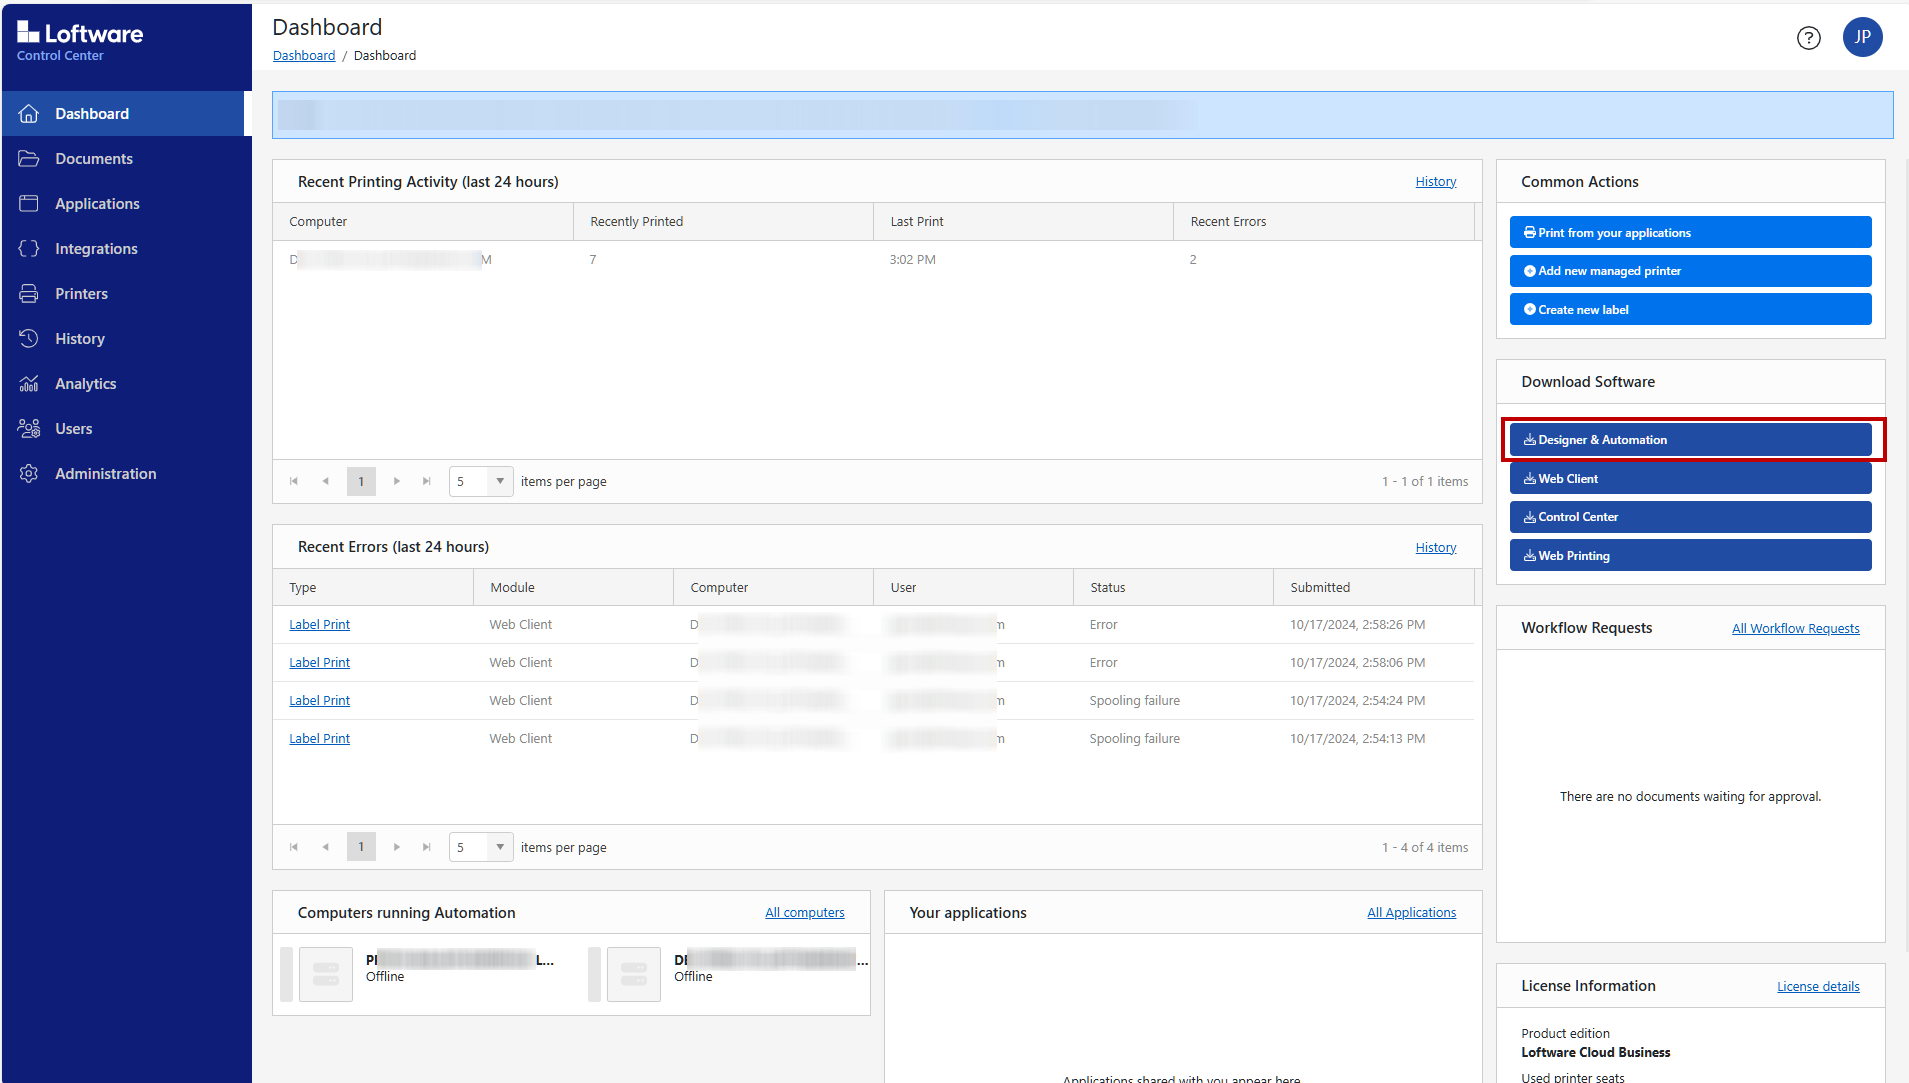
Note
-
When your download completes, go to the
Downloads folder on your computer and run Loftware installation (.exe) file.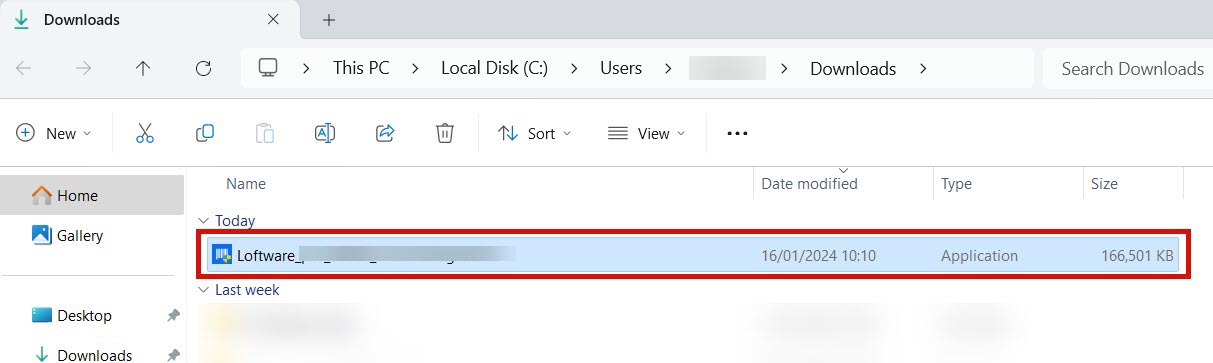
- Complete the installation wizard steps. When the installation completes, activate Desktop Designer.
Activating Desktop Designer and connecting to Loftware Cloud
- Run Desktop Designer on your computer.
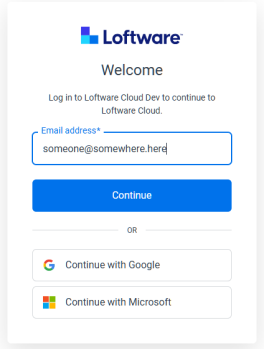
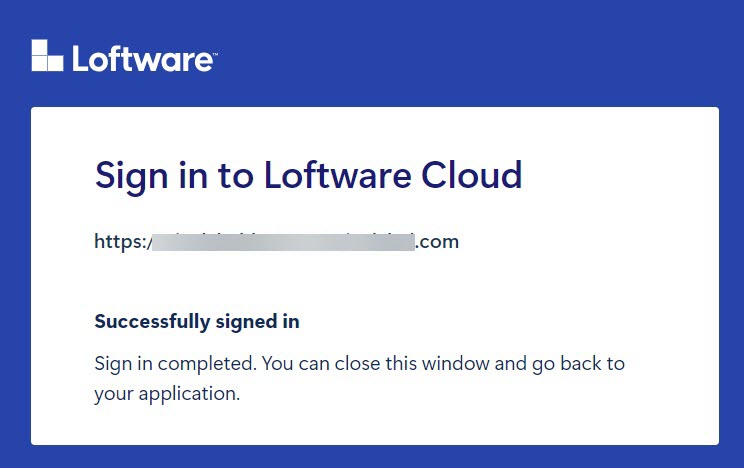
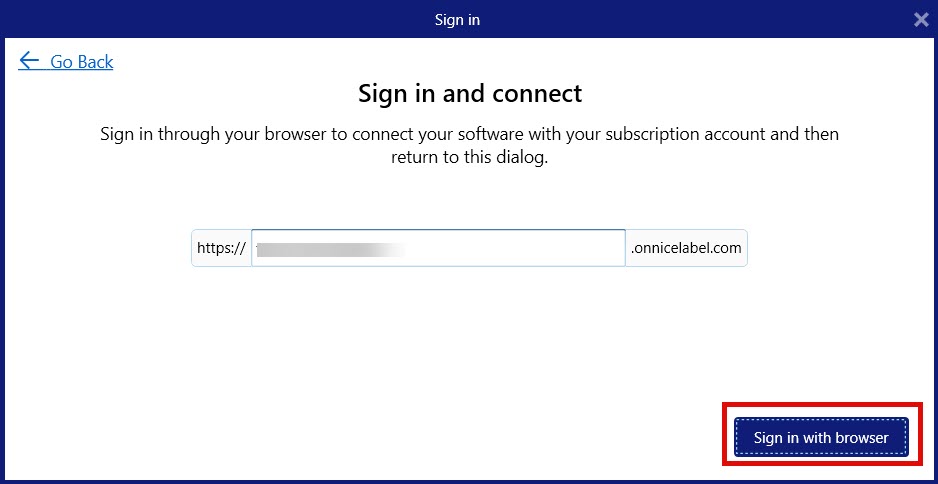
- The
Sign in window opens. ClickSign in . -
Your browser opens automatically. Sign in to Loftware Cloud.

Note
Important
Starting with version 142 of Google Chrome, the browser restricts Local Network Access (LNA) by default. This change affects the ability of certain applications, such as Loftware Cloud desktop clients, to complete the sign-in process. If LNA permission is not explicitly granted to the Loftware Cloud sign-in site, you will be unable to sign in from your desktop clients.
To enable Local Network Access for the Loftware Cloud sign-in page in Chrome 142.x:
Open Chrome Browser.
Ensure you are using version 142.x or later. You can check your Chrome version by clicking the three-dot menu in the top-right corner, selecting Help > About Google Chrome.
Navigate to the Loftware Cloud Sign-In Page.
Go to the URL used for signing in to Loftware Cloud.
Attempt to Sign In to Loftware Cloud.
Start the sign-in process as you normally would. You may notice that the process does not complete, or you are prompted regarding network access.
When Chrome blocks local network requests, a small icon (often a crossed-out network or shield symbol) appears in the address bar, indicating that access is restricted.
To enable LNA:
Click the icon in the address bar. A dialog will appear, explaining that the page is attempting to access devices on your local network.
A dialog will appear, explaining that the page is attempting to access devices on your local network.
Click Allow or Grant Access (the button label may vary).
Refresh the Sign-In Page.
After granting LNA permission, refresh the Loftware Cloud sign-in page.
Attempt to sign in again. The sign-in process should now complete successfully, and you should be able to access the desktop clients.
-
When you sign in, return to Desktop Designer.
-
Your activation is complete. Click
OK .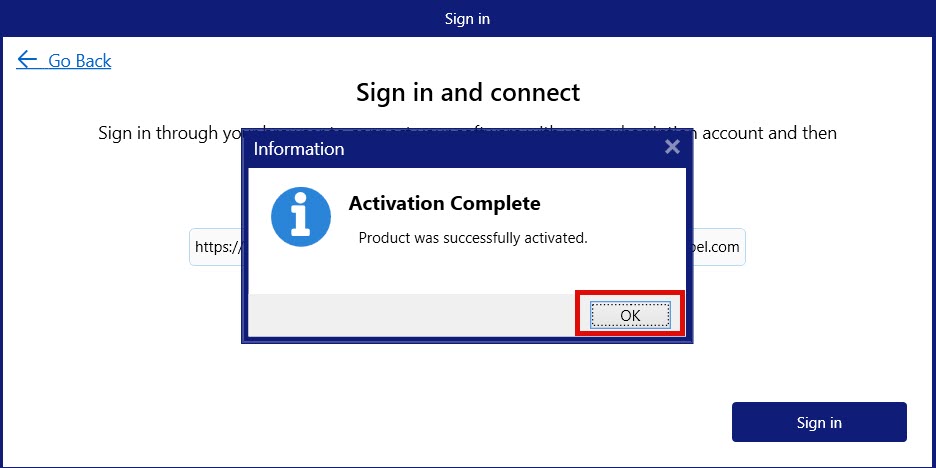
Note
If you accidentally change or delete text in the edit field, your activation will fail.
When your activation completes, Desktop Designer opens automatically.
Desktop Designer is now installed and activated, connected to Loftware Cloud, and you can see your printers in Control Center.
Next, see Test printing from Desktop Designer.