Test printing in Control Center
Make sure you correctly set up your labeling environment by test printing a sample label with Cloud Print Form.
Go to
Documents >Loftware Samples .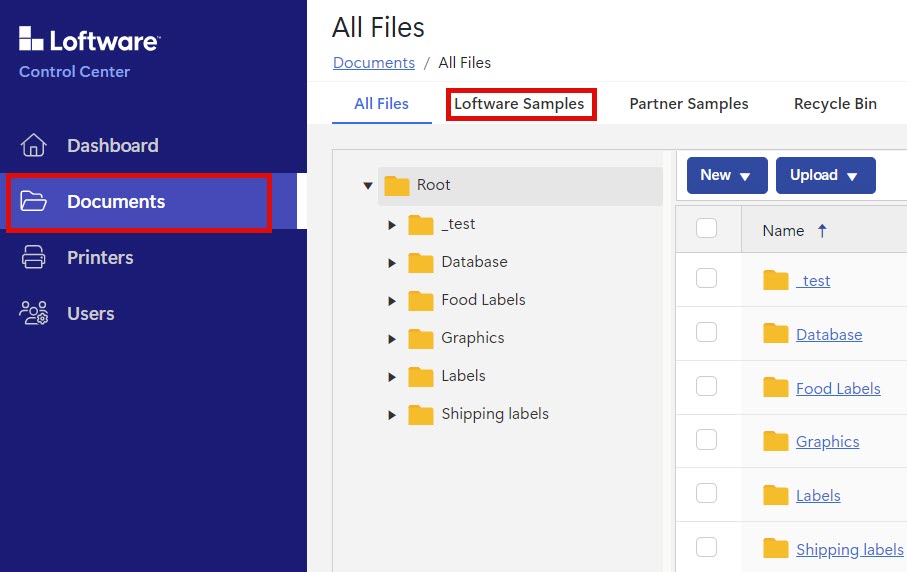
In your
Root folder, findHello_world.nlblfile.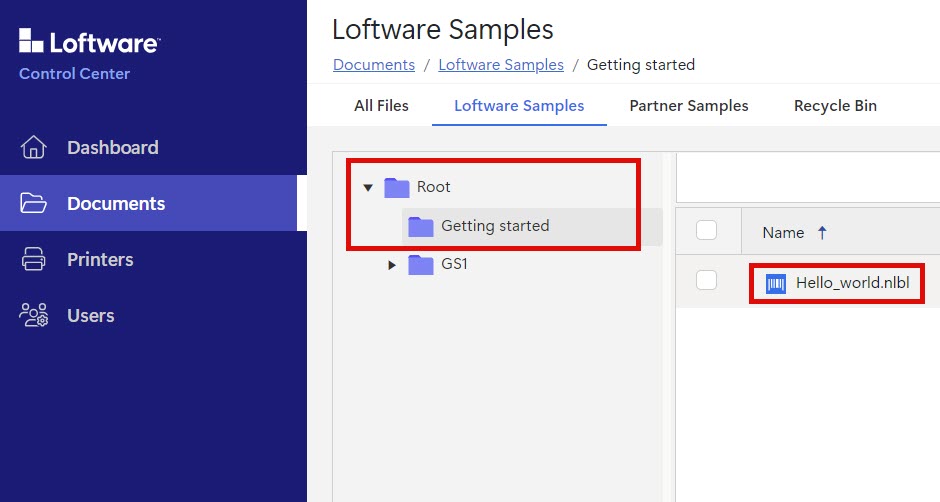
Right-click on the file name and click
Copy to... .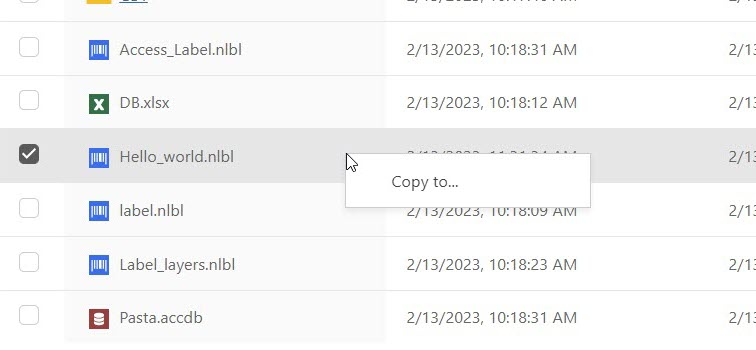
The
Select Folder window opens. ClickLabels , then clickSelect .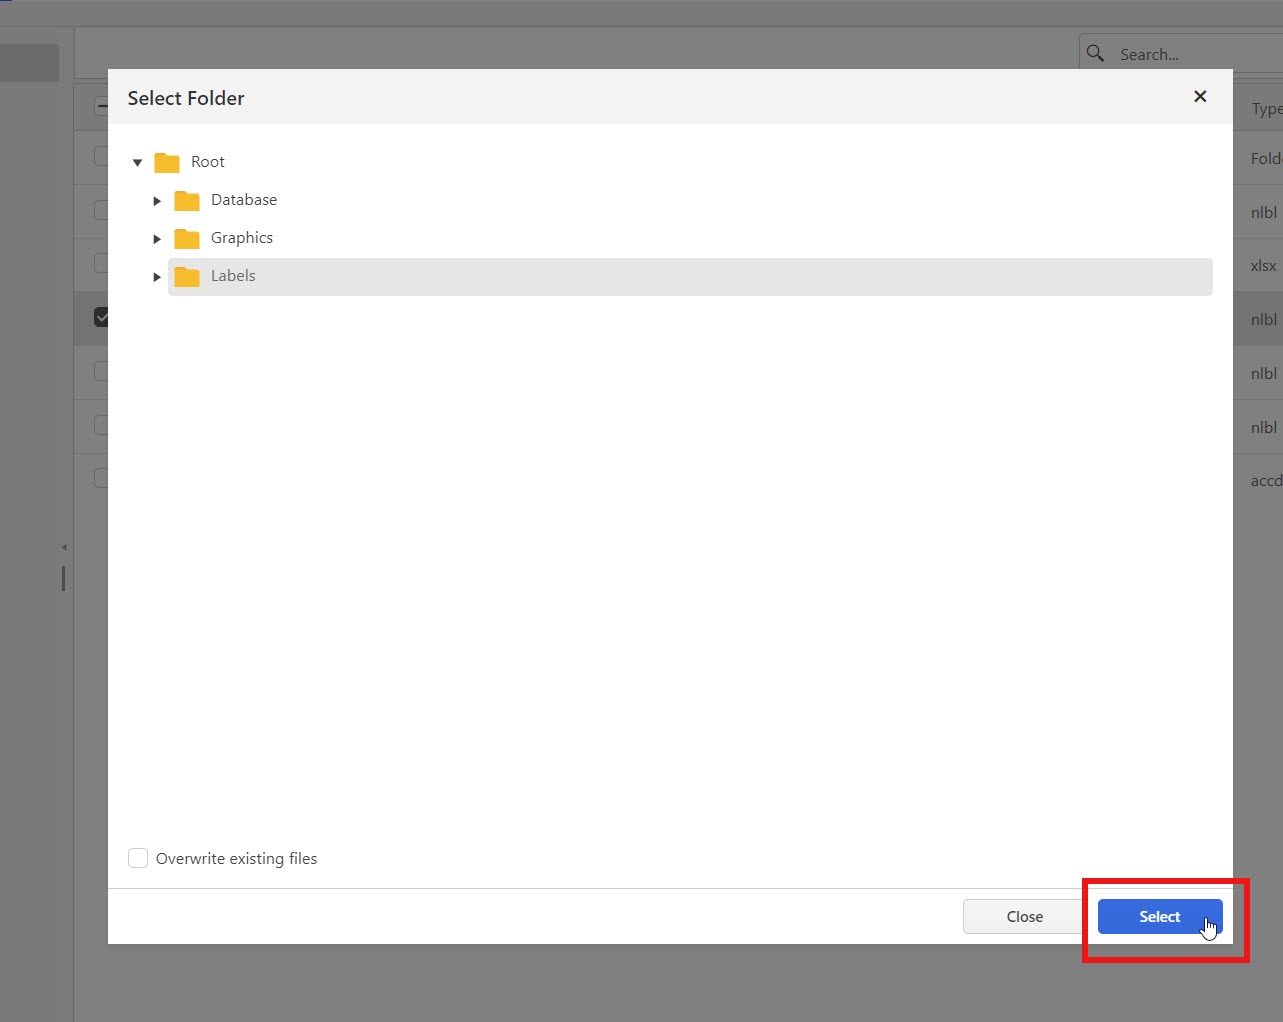
The
Labels folder opens. Right-clickHello-world.nlbl. SelectPrint from the dropdown menu.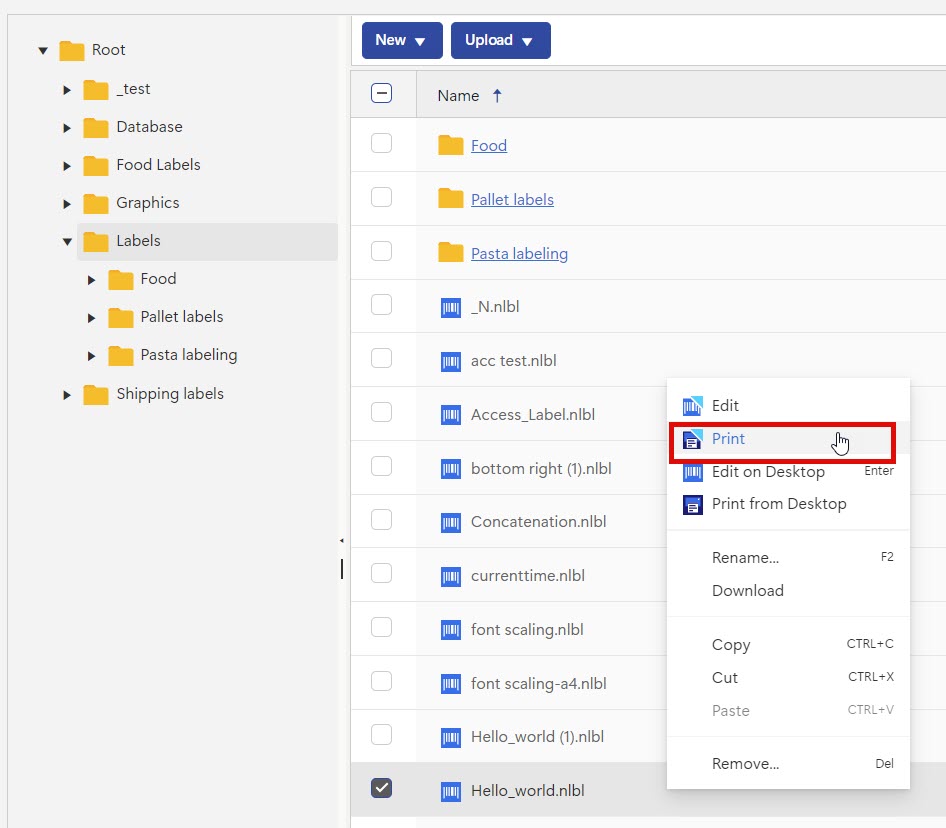
The
Preview and Print window opens. Select your printer. LeaveQuantity at 1, and clickPrint .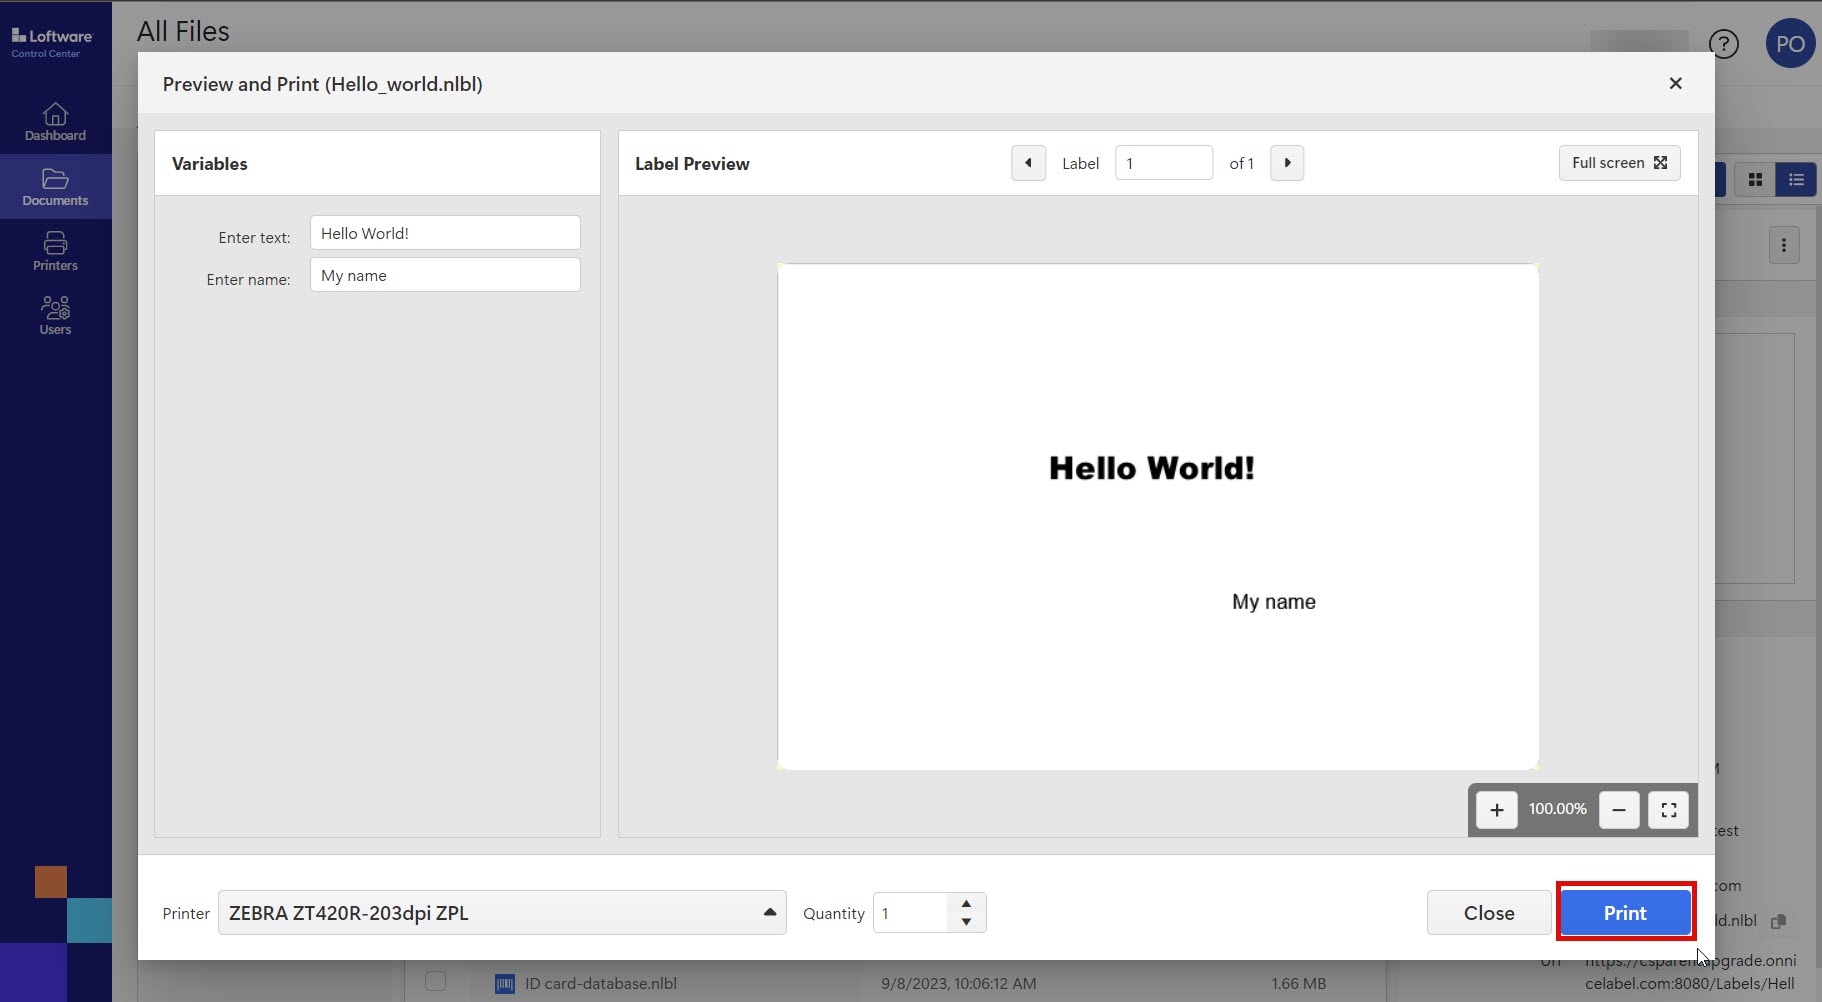
Your test label prints. Compare the formatting on your printed label to the file on your screen to make sure your test print matches.
You have successfully test printed in Control Center. Now you can print labels from Control Center.
Quick troubleshooting
If your test print failed or you can't print, try the following:
Make sure your Setting up your printers.
Make sure that Desktop Designer is Installing and activating Desktop Designer you're printing from.
Make sure the computer you're printing to Installing and activating Desktop Designer.
Your Control Center must be connected to your printers.
Check the
Printing preferences on the computer you're printing from. Control Center uses printing preferences from your printer drivers.Note
If you print labels on printers from multiple computers, Control Center uses printing preferences from your printer drivers.