Printing Labels whose Names are Read from Database
This label printing method enables you to dynamically define a label to be printed using a connected database. Use the form to read the label name from the database and print it.
Follow the below steps to create a basic form for database-defined label printing.
Create a new form.
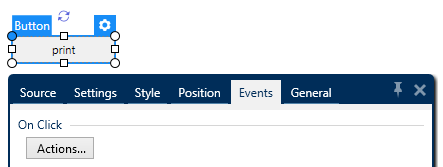
Add a Form Objects to the design surface. Button is the most appropriate object for clicking on.
Double-click the button to open its properties.
Open the Events tab.
In our case, button object already offers the On click event. Click Actions ... to open the Actions.

If you plan to print all labels listed in the database table, or a selection of included labels, add action named For every record.
Use all records: prints all records in the database table.
Use selected records
Add Print label action. This action is listed among popular actions in the Actions editor ribbon. Click it to assign it to the button.

Note
Print label is an action that automatically adds Open label action in front of it.
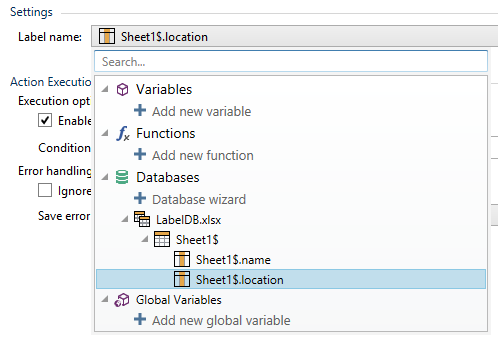
Click Open label action in the Actions editor to open its properties. Label name defines which label should be printed. Select the Data source option to enable the selection of dynamic data sources.
Click the dropdown list and select an existing database field or create a new database connection using the database connection wizard.

Click OK.
Run the form and click the button. A label defined by the database gets printed.