Picture
Use Picture object to add graphic content on a label. The following file formats are supported:
- Portable Network Graphic (*.png)
- PDF (*.pdf)
- Adobe Photoshop (*.psd)
- Scalable Vector graphics (*.svg)
- Paintbrush (*.pcx)
- JPEG bitmaps (*.jpg, *.jpeg, *.jpe)
- TIFF bitmaps (*.tif, *.tiff)
- Enhanced Windows Metafile (*.emf)
- Windows Metafile (*.wmf)
- Windows bitmap (*.bmp)
- Graphics Interchange Format (*.gif)
Note
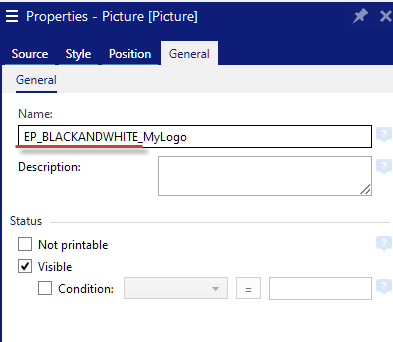
You can force your images to monochromatic printing on label printers with on-color ribbon. You can enable this functionality by adding the EP_BLACKANDWHITE_ prefix to the Picture object
|
|
|
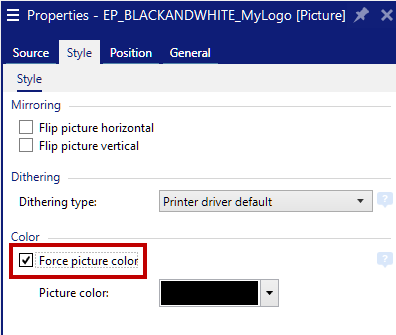
Adding EP_BLACKANDWHITE_ prefix (left) or enabling the
Note
When you print an image containing white content, and you enable the option Combine non-printer elements into one graphics when sent to printer in Label Properties, the white content print as transparent.
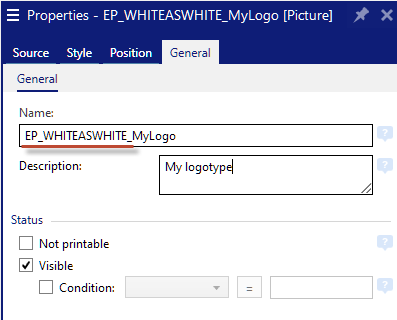
You can force your images to print white content as white "color". You can enable this functionality by adding the EP_WHITEASWHITE_ prefix to the Picture object Name.

Source
Connected data source defines the content source of the selected object.
- Variable keyboard input: type of variable that enables the content of a prompted field to be different for every print job.
- Variables: predefined variable values which are used as object content.
- Functions: input data transformation tools.
- Databases: database values that are used as object content.
Data defines the content source of the selected object.
-
Fixed data: manually entered fixed text.
-
Variable keyboard input: type of variable that enables the content of a prompted field to be different for every print job.
-
Counter: displays counter value on the label.
Content field is used for entering the object content.
To (re)define the Picture object Content, click Browse and locate the file to be displayed on the label.
Embed picture in a document: stores the picture in the label file. Link to the original picture file is discarded.
Note
When you add a picture to your label design, the picture is automatically embedded into the label file.
Tip
Picture embedding makes the label file more portable as the user does not have to include the picture file when sharing the label.
Save embedded picture to file: the embedded label picture is saved as a separate file.
Base64 encoded graphics
Base64 is a binary-to-text encoding method that encodes your graphic files into text files. Use Base64-encoded graphics on your labels
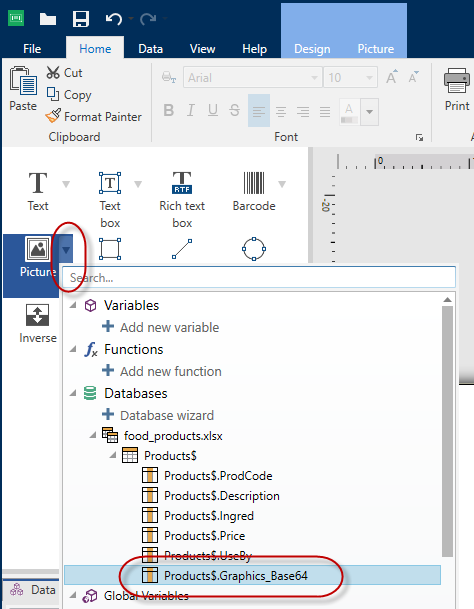
Connect your Picture objects to database fields containing Base64 content. Designer automatically recognizes Base64 text content and displays text content as images on your labels

Note
Your Base64 strings must be longer than 250 characters.
Note
For testing your label
BLOB fields support
Binary Large Objects (BLOBs) are collections of binary data. BLOBs are typically images, audio, or other multimedia objects. Databases store BLOBs as single entities. Advanced databases like SQL, MySQL, and Oracle support BLOB fields.
Use BLOB database fields on your labels or forms to access your graphics directly from your database, and not as file paths to graphics on your hard drive.
Connect your Picture objects to your BLOB database field. Designer automatically recognizes BLOB content and displays the content as images on your labels or forms.
Style
Color processing defines the type of color ribbons.
Mirroring enables you to flip your picture horizontally or vertically.
Dithering group allows you to select the most appropriate dithering method to print pictures on labels in black and white.
Tip
When printing pictures in black and white, dithering creates the illusion of multiple colors and shades by varying the pattern of black dots.
Dithering type selects the dithering method:
-
Printer driver default: no dithering method is selected for the picture object. When printing in black and white, printer driver uses its own dithering method.
Note
If no dithering is set for the picture object, the algorithm can also be selected using the printer properties dialog. The selected dithering algorithm for an object in overrides the algorithm selected using printer properties dialog. For more information, see Changing Dithering Options.
-
Ordered: achieves dithering by applying a threshold map (matrix with cells) on the pixels displayed. If the value of the pixel (scaled into the 0-9 range) is less than the number in the corresponding cell of the matrix, the algorithm plots the pixel black, otherwise, it plots it white.
-
Threshold: sets a threshold to which every pixel is compared. If the original pixel value is higher than the threshold, it renders white. The lower the threshold value, the higher the share of pixels turned to white.
-
Floyd Steinberg: achieves dithering using error dispersion. This algorithm generates the closest result to the original, but represents the slowest option.
Color group allows you to customize the color of a graphic object.
-
Force picture color: recolors the graphic object. Use the dropdown Picture color palette to pick the appropriate color to be used for the object on the printed label.
Note
This option can be used with color printers using the advanced printer driver interface or Windows Printing Mode.
Position
Position tab defines object positioning and its position-related behavior.
Position group defines the object's position.
-
X and Y: anchoring point coordinates.
Size group sets the object's dimensions:
-
Width and Height: horizontal and vertical object dimension.
-
Keep aspect ratio: simultaneous changing of object dimensions while scaling.
Note
If the measurement unit is changed in label properties, the value transforms automatically.
Rotation angle is the object angle according to the design surface.
Tip
There are multiple ways to set the object's angle: enter the angle manually, drag the slider or click and drag the 

Anchoring point is the spot where an object is pinned to design surface. Variable size objects increase or decrease their size in the direction that is opposite to the chosen anchoring point.
Lock prevents the object from being moved during the design process.
Relative Position options define the position of an object when label size or positions of neighboring objects are changing during the label design process.
-
Enable horizontal relative position: activates horizontal relative positioning.
-
Relative to label border: the position of object is defined relative to the reference label border. Define horizontal offset for the object with regard to this border.
-
Relative to another object: the position of object is defined relative to the border of a neighboring object. Define horizontal offset for the object with regard to this object.
-
Object: selects the reference object for horizontal relative positioning.
-
Border: neighboring object's reference border or label border (if there are no other objects on the label) for horizontal relative positioning.
-
Offset: horizontal distance from label border or reference object's anchoring point.
-
-
Enable vertical relative position: activates vertical relative positioning.
-
Relative to label border: the position of object is defined relative to the reference label border. Define vertical offset for the object with regard to this border.
-
Relative to another object: the position of object is defined relative to the border of a neighboring object. Define vertical offset for the object with regard to this object.
-
Object: selects the reference object for vertical relative positioning.
-
Border: neighboring object's reference border or label border (if there are no other objects on the label) for vertical relative positioning.
-
Offset: vertical distance from label border or reference object's anchoring point.
-
Note
Object position changes if label size or position of the related object change.
When designing double-sided labels, you can also take objects on the opposite side of the label as reference objects for relative positioning. In this case, objects on opposite sides move together if you change their positions.
Note
Label sides of reference objects are clearly identified on the Object selection list with (Front Side) and (Back Side).
Note
If the measurement unit is changed, the value converts automatically.
Graphic Resizing tab is available if the picture object is connected to a variable. These settings define how the Picture object adapts its size to the source file at print time.
-
Keep original picture size: disabled picture resizing. Picture size remains unchanged.
-
Resize proportionally: proportional picture resizing. Aspect ratio of picture dimension remains fixed.
-
Resize to the designed size: horizontal and vertical picture resizing to make it fit into the bounding box. This option will most likely make the picture distorted.
Original size displays the picture's Width and Height before resizing. Revert to original picture size cancels the resizing actions.
General
General tab identifies the object and sets its status.
Name sets a unique object ID.
Note
Avoid using spaces or special characters in object names.
Description allows adding notes and annotations for an object. It provides help during the label design process.
Status group defines object visibility on print preview and on printed labels.
-
Not printable: prevents the object from being printed. The object still remains visible on the print preview and affects other objects in relative positioning. This option is useful when printing on predesigned or stock-specific labels.
-
Visible: if the checkbox is not selected, the object neither appears on the print preview nor on the printed label. The object is treated as if it does not exist.
-
Condition: makes an object enabled (editable) if the result of the given condition is "True".
This setting defines object visibility on form startup and when the connected variable's value changes. Tip
Equals (=) and slashed equals (≠) signs are allowed to be used in object visibility condition. Click the Equal/Not equal button select the appropriate sign type.
|
Option |
Print Preview |
Printout |
Relative positioning |
|---|---|---|---|
|
Not printable (selected) |
YES |
NO |
YES |
|
Visible (cleared) |
NO |
NO |
NO |

