Database Table Configuration
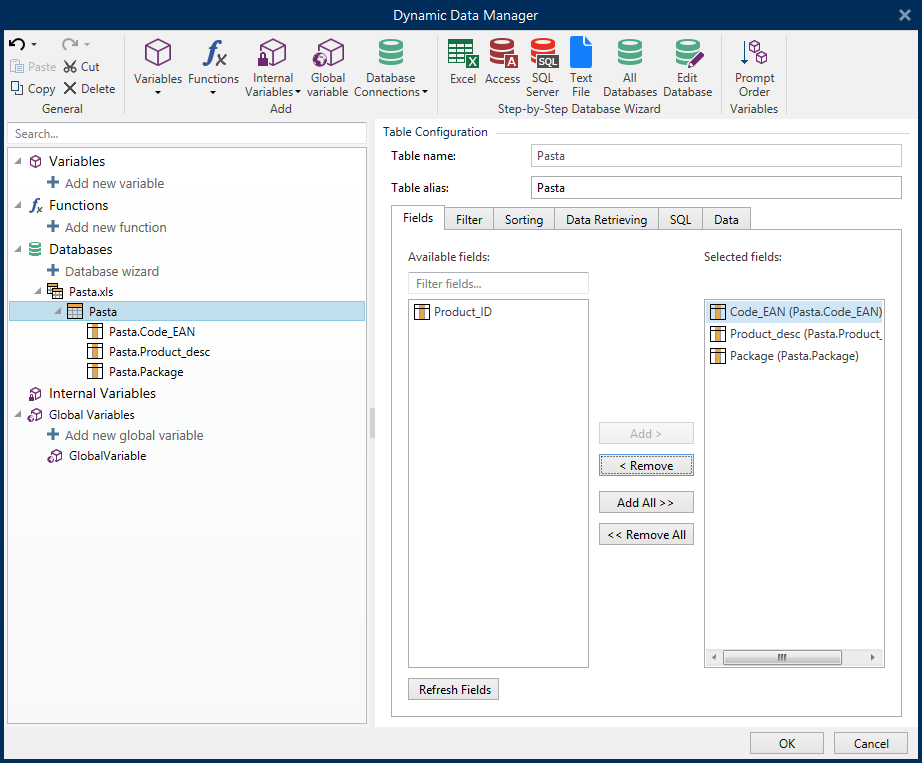
Table Configuration group allows you to configure the connected database table. Use the tabs below to browse through various configuration options.
Table name: displays the selected database table's name.
Table alias: gives a unique display name to a table. Table alias is useful when the same table is added for more than once under the same database connection. Alias identifies these tables when used in the Desktop Designer.

Fields Tab
Available fields frame lists the available fields of the connected database table. Select the fields from the list.
Selected fields display the fields that are used as a connected data source.
The fields can be added to or removed from the Selected fields using Add > and < Remove buttons. To use the entire range of available fields, use Add all >> and << Remove All buttons.
Refresh Fields rereads the connected database table and displays the refreshed available fields.
Filter Tab
Enable filter command activates the table filter. Use it to filter out the displayed database fields as defined by a condition or a group of conditions.
Add condition button creates a custom filter. Select standard qualifiers: equals, does not equal, is less than, is less than or equal to, is greater than, is greater than or equal, like, not like, is blank, is not blank.
Add group button activates nesting two or more conditions for a filter. Use a group to build a more complex filtering condition for a field. The conditions can be joined using AND (all conditions must be true in order to display the record) or OR (only one condition must be true in order to display the record) logical qualifiers.
The list of defined conditions and groups is placed below the table. Remove the filter(s) by clicking the Remove button.
Sorting tab
Field column allows you to decide which field in a table should be used to sort the data.
Sort Order defines whether the records as displayed Ascending or Descending. Select the sort order from the dropdown menu.
Example
In Pasta.xlsx sample database, select Prod_desc field with Ascending order. The data appears sorted by product description and ordered alphabetically from A to Z.

Data Retrieving Tab
Data selection at print time initialization group defines database print time record selection and printing options.
Show record selection at print time: enables manual selection of database records before printing. The content of selected records is displayed in label objects and printed.
Tip
When enabled, this option adds a selection column to the database table on the print dialog. This column allows individual selection of the records to be printed.
Default print: defines which database records would be selected in the print dialog by default.
All records: prints out the entire range of selected records.
First record: only prints out the first record in a table.
Last record: only prints out the last record in a table.
Number of copies per record group sets print quantities for individual database records.
Copies per record: defines how many labels should be printed per single database record.
Number of copies can be changed at print time: allows setting the number of printed label copies for a single database record right before printing.
Tip
When enabled, this option adds a column to the database table in printing form. This column allows individual settings of print quantity for the selected record.
Advanced options group allows you to set how multiple database records should be displayed.
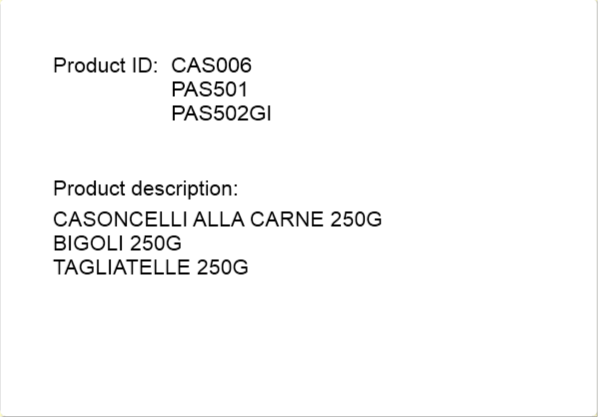
Collect records: displays the content of multiple records in a single object.
Delimiter: defines which character should separate the database record values when displayed in an object.
Limit number of collected records: enables the maximum number of displayed records in a single object.
Records: sets the maximum number of database records to be displayed in an object.
Span multiple labels: displays collected records in an object on the first label and continues displaying collected records which follow over the next labels in the print job.
Example
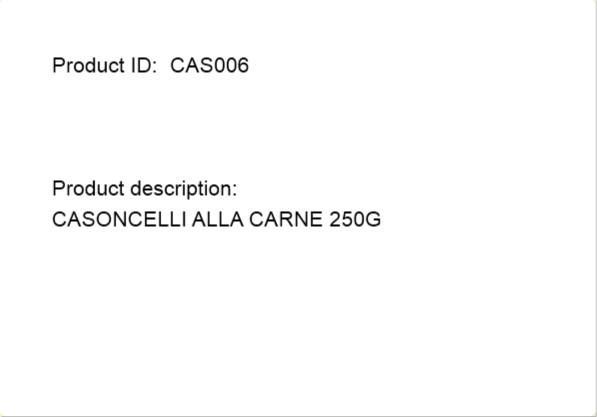
By default, Desktop Designer prints one label for each database record.
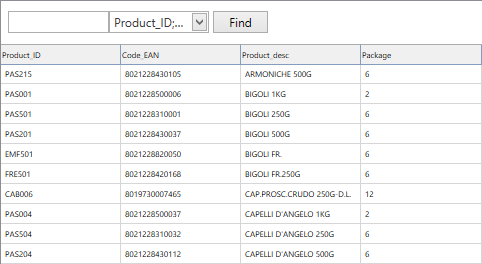
With connected Pasta.xlsx database, the result is:

With enabled Collect records options (3 records), the result is:

Note that all printed labels contain the same data from the collected table (data from the first 3 rows) and an Printing of Unlimited Data by default (Print all labels (unlimited) option selected). To limit the number of labels, enter the number of printed labels.
With enabled Collect records option (3 records) and enabled Span multiple labels option, the result is:

With 3 collected records defined, all labels are printed with content of the 3 collected records. Each label includes data of these three records – if Print all labels (unlimited) option is enabled, all database records are printed as sorted in the table.
Use the same record for entire print job: prints out the single selected record on the entire range of labels in a print job.
SQL Tab
SQL tab displays current SQL statements that are used with the connected database. Commands in SQL statements determine how to obtain the data from the database (fields, filters, data sorting). The displayed SQL sentence is auto-generated.
By default, SQL statement is read-only. Desktop Designer also allows you to modify it or write your own sentence.
Edit SQL:Databases with Custom SQL Queries. This button allows defining custom tables that are based on SQL queries.
Note
This option is for experienced users only. If you make a mistake and create an invalid SQL statement, the query results become unpredictable. No data will be returned from the database or connection to the database will become impossible.
Export: saves the current SQL statement as an SQL file on a disk.
Import: allows external SQL statements to be used with the current database.
Data Tab
Data tab displays the connected database file table. Use the search field and field selector to find the records.