Picture
Use picture objects to add graphics to your labels. Use pictures to visually identify your products or ideas, and add your logo. Pictures make your labels more exciting and your trademark more recognizable.
Note
You can insert pictures that are stored in Control Center Documents. If you want to use pictures from the computer's hard drive or other locations, first upload them to Documents.
Supported Formats
The following file formats are supported:
- Portable Network Graphic (*.png)
- JPEG bitmaps (*.jpg, *.jpeg, *.jpe)
- Windows bitmap (*.bmp)
- Scalable vector graphic (*.svg)
Adding Pictures to Labels
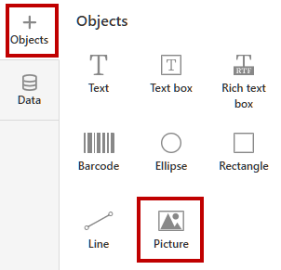
To add a picture to your label design:
Click the Picture icon in your Objects panel.
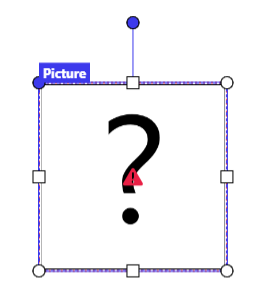
Click your label design surface to create your picture placeholder. Define your picture source in the Picture Properties panel.
To move your picture, click and drag the Picture object.
To resize your picture, drag the corners of your Picture object. The picture aspect ratio remains the same when resizing. To change the picture aspect ratio while resizing, hold <Shift> while dragging your picture corner.
To rotate your picture, drag the small circle symbol above your Picture object. You can rotate your picture by 90, 180, or 270 degrees.
You can also rotate your picture by any degree in the Picture Properties panel.
Picture Properties
To edit your picture properties, click your Picture object. The Properties panel opens on the right side of your screen.
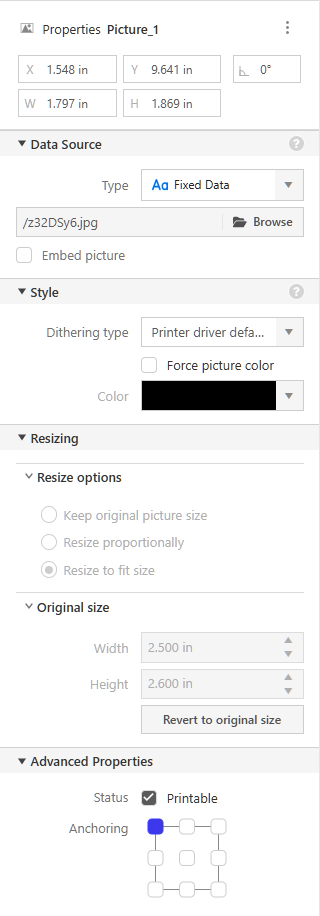
You can manually define your picture's dimensions, position, and rotation data. You can rotate your picture by any degree.
In Data Source > Type, select how you provide your picture file path.
Note
When you provide your picture file paths with Dynamic Data sources, always use relative paths.
You can also provide only file names if:
Your label file and picture files are in the same folder.
Your label file is in the folder
Root\Labels, and your picture files are in the folderRoot\Graphics.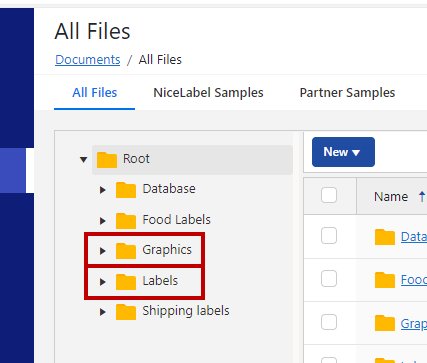
Fixed Data means you will print your selected fixed picture in the Browse field.
- Using Prompt variables, you can enter your picture file names or paths at print time.
- You can use the Concatenate to provide you with your picture file names and paths.
- You can select your picture file names or paths from your Databases.
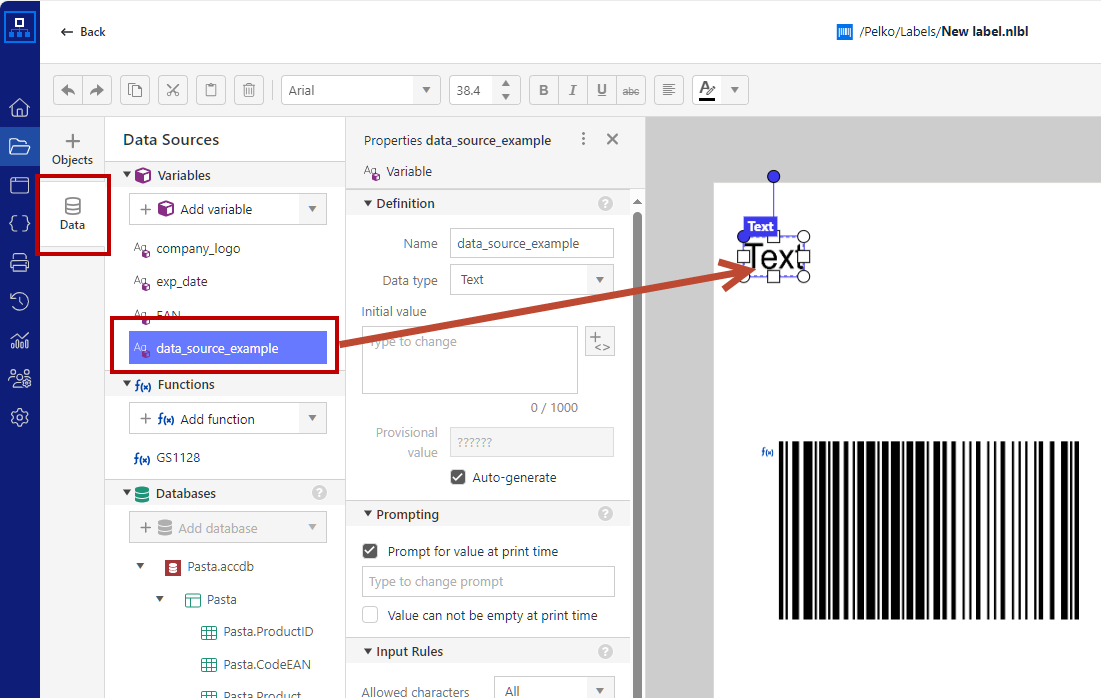
Tip: You can also drag and drop your data source to your (fixed) label object.
Note
For details on defining and using your variable content, see the Dynamic Data Sources topic.
Note
If you share your label with users outside your Control Center, leave the Embed picture option enabled.
Style:
Dithering type: You can use the dithering type defined in the printer driver or select dithering from other options in the drop-down menu.
Force picture color: If you use a multi-color thermal printer, you can change the color of your monochrome picture.
Color: If your printer enables color printing, you can select color for your monochrome pictures.
Resizing:
Resize options are available only with variable graphics. Keep original picture size option uses actual image pixel dimensions.
Original size > Revert to original sizeis available only with fixed graphics. This option uses actual image pixel dimensions.
By default, label objects have the status Printable. You can disable the Printable status if you don't want your text object to be printed. For example, you would like to put some comments on your label design but don't want them to be printed. Non-printable text objects will also not show on the label preview.
Anchoring: Anchoring point is where your label object is pinned to the design surface. Variable size objects (variable text, barcodes) increase or decrease their size in the opposite direction of the selected anchoring point.
When you print an image containing white content, and you enable the option Combine non-printer elements into one graphics when sent to printer in Label Properties, the white content print as transparent.
You can force your images to print white content as white "color". You can enable this functionality by adding the EP_WHITEASWHITE_ prefix to the picture file name in Documents.
Use the right-click menu or keyboard shortcuts to:
- Copy
- Cut
- Paste
- Delete