Inviting and removing users in Control Center
New users can only access Control Center when you add them as users in Control Center and send them an email invitation.
You can invite users with company or private email addresses to Control Center.
Go to
Users .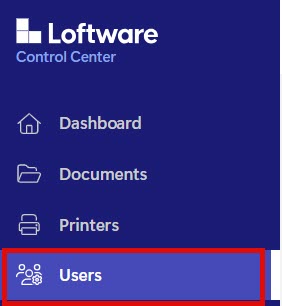
Click
Invite users .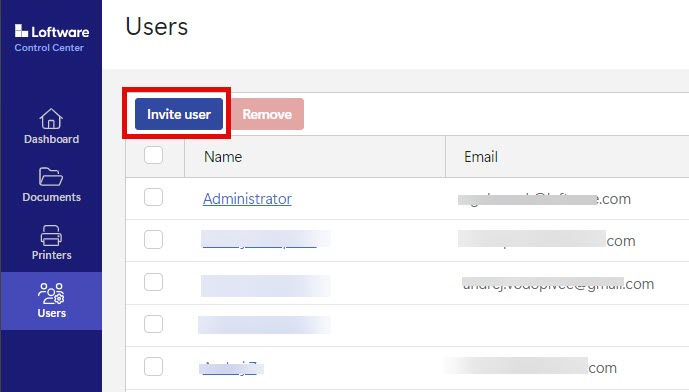
The
User information form opens.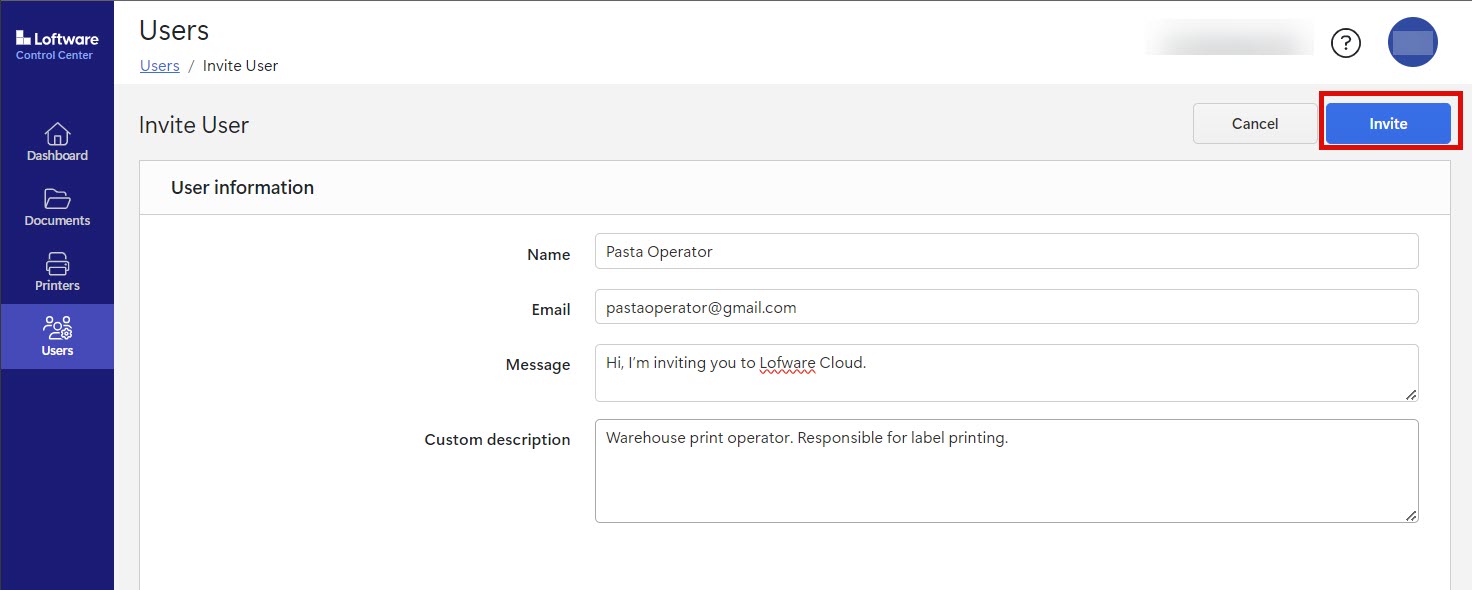
Under
Name , put in the user's name.Under
Email , put in the user's email address.Warning
Make sure to type in the email address correctly. If the email isn't correct, you will not receive any notification about the invite not being delivered. After sending the invite to the user, you can't edit this field.
Under
Message , type your message. The user will receive your message in your invitation mail.Under
Custom description , type in the user's role, for example, Warehouse print operator. You can edit this field later on.Tip
The
Custom description is a useful way to keep track of your users and their roles, especially when there are a lot of users. If you have trouble creating a description, consider how the user is connected with your labeling process.
Check your data, then click
Invite . Control Center sends the invitation email to the user you added. When the user accepts your invite, his status will change fromNot signed up toActive .
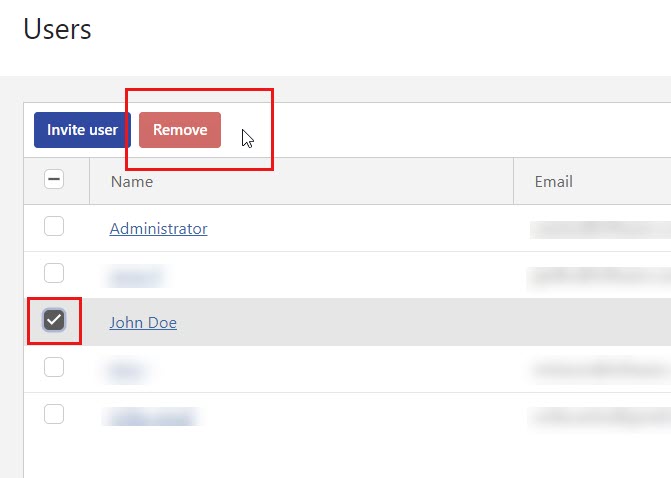
To remove a user, select the user and click