Appendix A: Integration bundle
Your integration bundle includes a mockup application to demonstrate available types of integrated printing with Cloud Applications. We simulate your cloud-based applications with a JavaScript mockup application. Your mockup application can send printing data to:
-
Cloud Print APIs to demonstrate direct printing with cloud-enabled printers.
-
Cloud Trigger APIs to demonstrate server-based printing with Cloud Triggers.
-
Loftware Web Client to demonstrate thin client printing.
We provide you with sample files in LabelCloudDataIntegrationPack.zip. You can download it here:
https://ftp.nicelabel.com/software/demo/v10/LabelCloudDataIntegrationPack.zip
Your sample is configured for Loftware Cloud’s “demosystem” account. Follow the steps in the following sections to update your sample application to work with your Loftware Cloud account.
Configuring Control Center
Uploading files
-
Log in to your Loftware Cloud Control Center. In your browser, type:
https://<account>.onnicelabel.com/dashboardNote
Replace
<account>with your actual Loftware Cloud account name. -
Download and install Loftware Web Client.

-
In Documents, create a new folder: /Demo/LabelCloudDataIntegration.
-
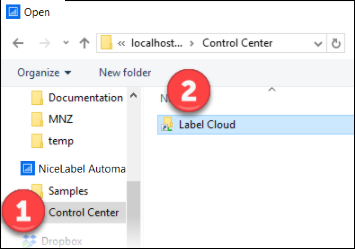
Open LabelCloudDataIntegrationPack.zip (provided).
-
Upload your Document Storage folder contents into your CloudIntegration folder (in your DMS).
Your files are uploaded in Control Center and ready to use.
Registering Web Applications
In Web Applications, you define which applications Loftware Web Client can run. We also use Web Applications for “thin client” printing demos.
Register your Web Application:
-
Go to Applications > Web Applications (on your left) and click Add.

-
For Name, type CloudIntegration-ThinClient.
-
For Path (Solution or Label files), click Browse and select: /Demo/LabelCloudDataIntegration/ThinClient.nsln.
-
For Authorized Users and Groups, add at least one user (yourself). Your users receive email invitations and all users you authorize can run the Web Application in Loftware Web Client.
-
Click Save.
Your Web Application is registered and ready to use.
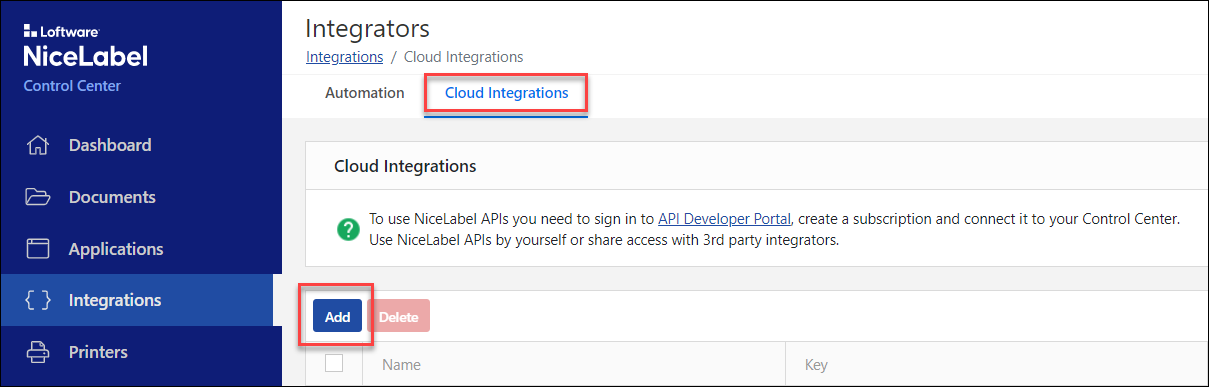
Creating Cloud Integrations
Cloud Integrations you create in Control Center authenticate your Cloud Print APIs and Cloud Trigger APIs. You use the same Cloud Integrations for IoT print using Cloud API and Cloud trigger printing demos.
Create your Cloud Integration:
-
Go to Integrations > Cloud Integrations (on your left) and click Add.
-
For Name, type a custom name for your integration (you can type any name).
-
Click Save.
Your Cloud Integration is created in Control Center and ready for Developer Portal registration.
Registering Developer Portal Cloud Integrations
Before you can use Cloud Print APIs or Cloud Trigger APIs, you must register your Cloud Integration in the Developer Portal. Registering links your Loftware Cloud account with APIs and requires subscription keys to authorize your API calls.
Register your Cloud Integration:
-
Read Cloud Print API
-
Follow the provided instructions to complete the following:
-
Set up your new account on our Developer Portal.
-
Create your new subscription.
-
Register your Developer Portal subscription with your Cloud Integration (in Control Center).
You must use your activated subscription key in custom HTTP headers (Ocp-Apim-Subscription-Key) with each of your API calls.
-
Your Cloud Integration is registered on the Developer Portal and ready for printer registration.
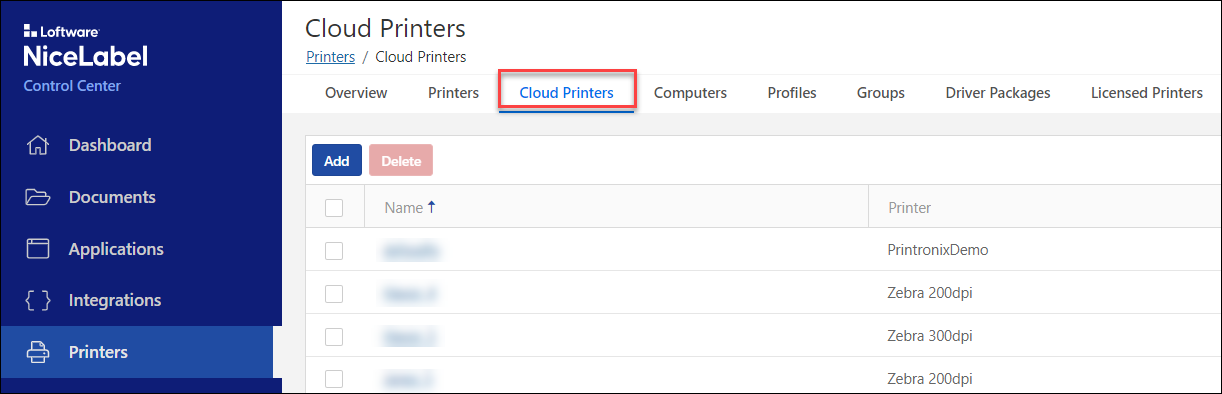
Registering cloud printers
Before you can execute Cloud Print APIs, you must register your cloud-enabled printers with your Loftware Cloud account. For instructions and more information about the registration process, read Cloud Printers.
Configuring your mockup website
-
Open LabelCloudDataIntegrationPack.zip (provided).
-
Extract the Website subfolder to a temporary disk location.
-
Open your extracted Website folder.
-
Open index.html in your text editor.
-
Find the string “loftwarewebclient”. Update the URI reference:
loftwarewebclient:?server=https://demosystem.onnicelabel.com/printNote
Replace “demosystem” with your Loftware Cloud account name.
-
Save your file.
-
Open scripts/config.js in your text editor.
-
Type your subscription key as your subscriptionKey value.
Note
You can get your subscriptionKey from Developer Portal > Products.
Note
Do not change values for label and uniqueIdentifier:
-
Label specifies which label file to use.
-
UniqueIdentifier specifies unique cloud trigger identifiers (defined in your Automation configuration).
-
-
Save your file.
Your mockup website is set up and ready to use.
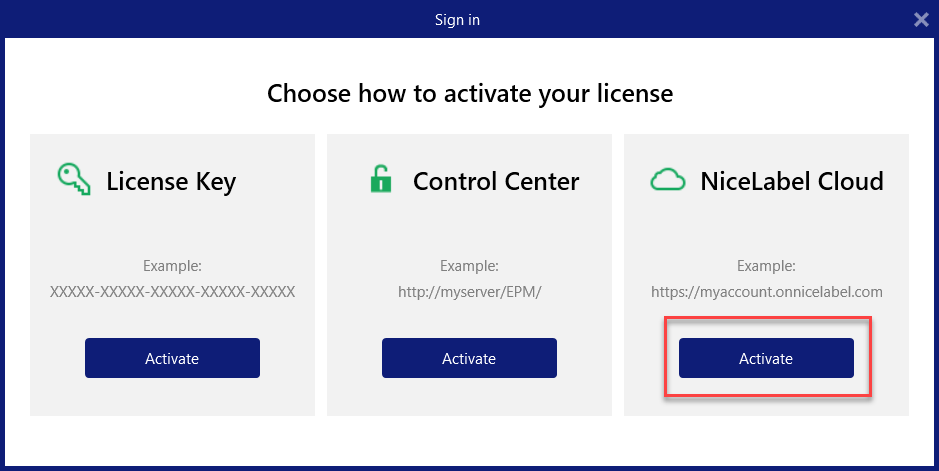
Configuring your integration server
-
Run Loftware Automation Manager.
-
Click Connect under “Connect to Loftware Cloud” to begin activation.
-
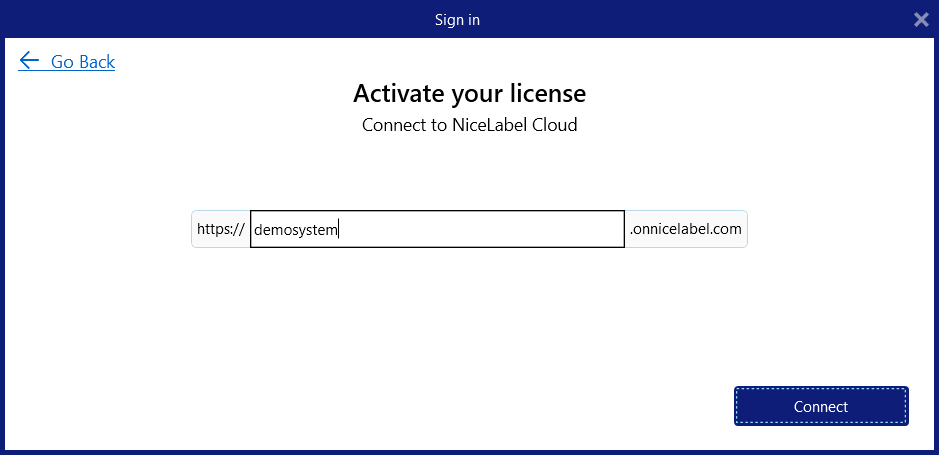
Type your Loftware Cloud account name.
Note
Replace “demosystem” in the screenshot below with your actual Loftware Cloud account name.
-
Click Connect.
-
Select Microsoft or Google authentication (depending on how you logged in to Control Center from your invitation email). Loftware activates on your computer.
-
In Automation Manager, click +Add. Browse to your Automation configuration file (.MISX) in Document Storage (Load the file you copied to /Demo/LabelCloudDataIntegration).
-
Start all the triggers in your configuration.
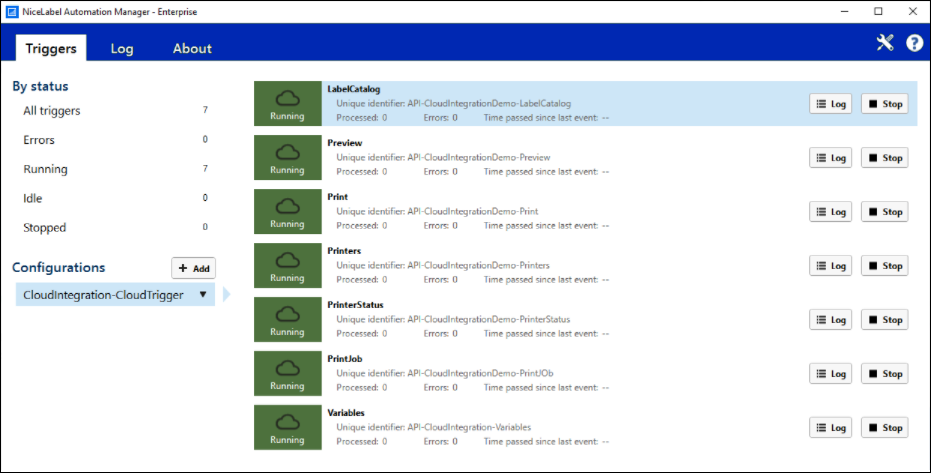
Your integration server is set up and ready to use.
Configuring your Loftware Web Client
Configure your Loftware Web Client for “thin client” printing:
-
Open ThinClient.nsln in Loftware Desktop Designer.
-
Select the “question mark” Picture object.
-
Double-click the “question mark” Picture object to open object properties.
-
In Events, click Actions for On Click event.
-
In the Open Document/Program action, direct your file name to your mockup website URL.
Note
If your mockup website runs from your local disk and not through a web server, you can delete the Open Document/Program action altogether.
-
Save your changes.
Loftware Web Client is ready for “thin client” printing.
Executing sample integrations
Execute your sample integration:
-
Go to the temporary folder on your disk with your extracted files from LabelCloudDataIntegrationPack.zip.
-
Go to your Website folder.
-
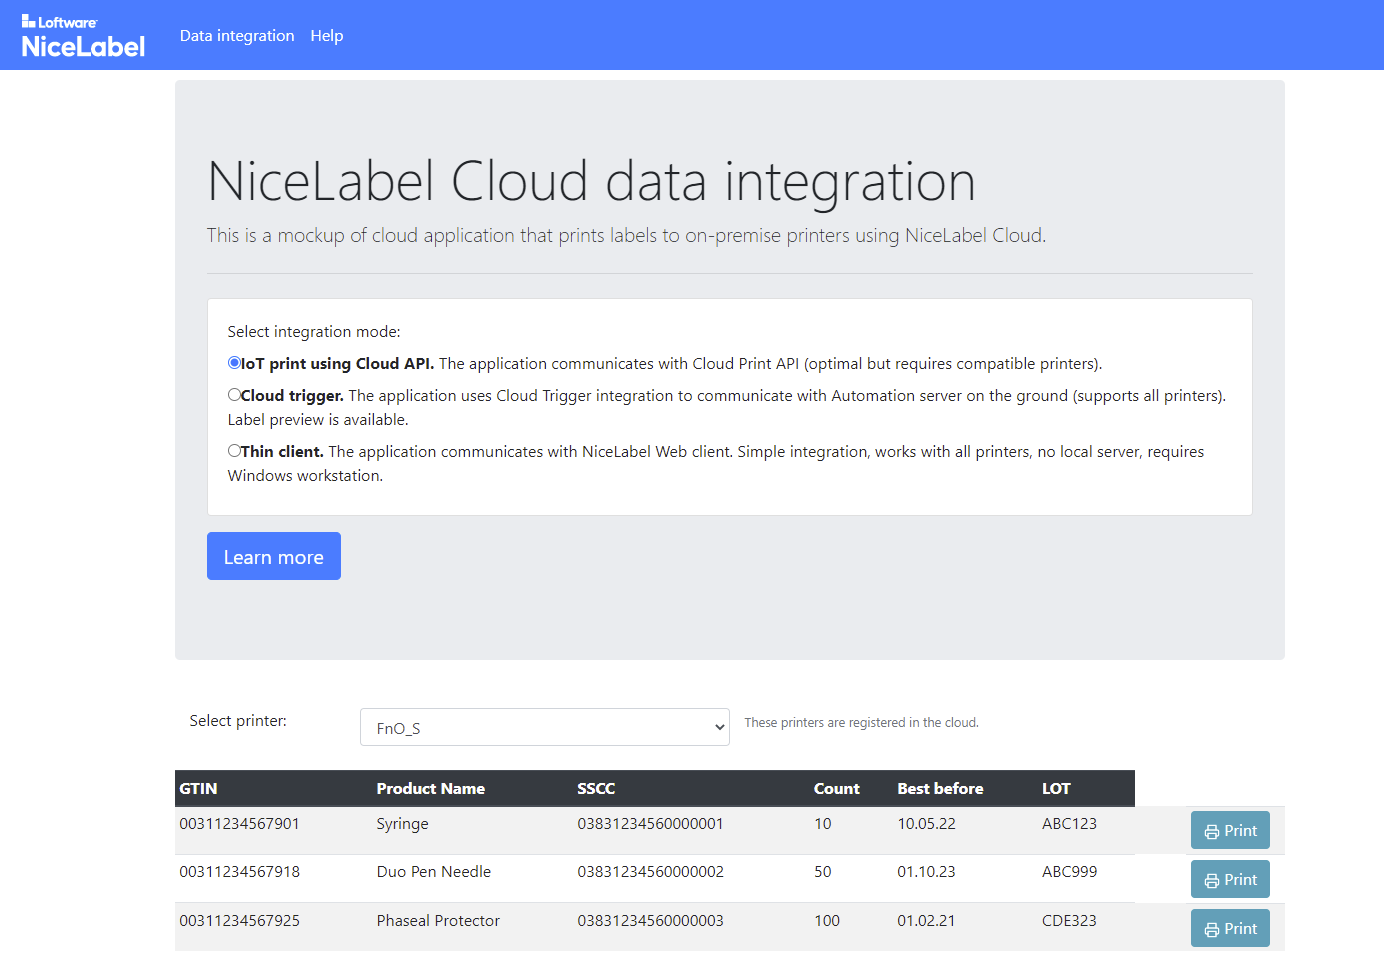
Double-click index.html. Your cloud system mockup opens in your browser:
Your browser console logs outbound XML requests and inbound responses. To view your logs:
-
Open your browser.
-
Press F12.
-
Click Console.
IoT printing with Cloud API
For each Print request, your mockup website writes and sends JSON messages as HTTP requests to our Cloud Print API. Cloud Print API processes the XML data, creates print jobs, sends print jobs to cloud-connected printers, and provides feedback.
Execute cloud printing:
-
For your integration method, select IoT print using Cloud API.
-
Select your printer from the list.
Note
Your list dynamically displays printers registered to your Loftware Cloud account. If your list is empty, register your printers. See Registering cloud printers.
-
Click Print to print labels.
Your cloud printing is set up and ready to use.
Cloud triggers
For each Print or Preview request, your mockup website writes and sends XML messages as HTTP requests to our Cloud Trigger API. Cloud Trigger API redirects the messages to your on-premise Loftware Automation. Automation processes the XML data, executes the required actions (such as print or preview), and provides feedback.
Execute your server-based integration:
-
Click Print to print labels.
-
Click Preview to see label previews.
Note
Your list dynamic displays printers available on the computer where your Loftware integration system (Loftware Automation) is installed.
-
For your integration method, select Cloud trigger.
-
Select your printer from the list.
Your server-based integration is set up and ready to use.
Example thin clients
Execute your client-based integration:
-
For your integration method, select Thin client.
-
Click Print to open Loftware Web Client.
Note
You must have Loftware Web Client installed on the computer where your mockup web application runs.
-
Log in to the Loftware Web Client with your Microsoft or Google account (Select Remember me to save your credentials). Loftware Web Client opens your Loftware Web Printing application:
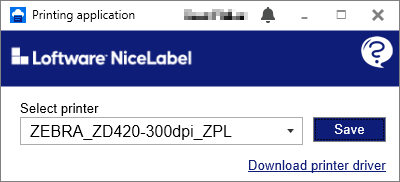
-
Choose a printer from the drop-down list to print your labels.
-
Click Save to remember your printer.
-
Keep your Web application running.
-
Click Print in your mockup application to transmit product data to your Loftware Web Client in a query string. Your labels print to your local printer.
-
If you have no driver installed, click Download printer driver and install your driver.
Your client-based integration is set up and ready to use.