Printing or recalling labels saved in Document Storage with Cloud Print API
Using the POST Print call
Test how printing works for labels stored in Document Storage in Control Center using Cloud Print API
-
Sign in to the Developer Portal.
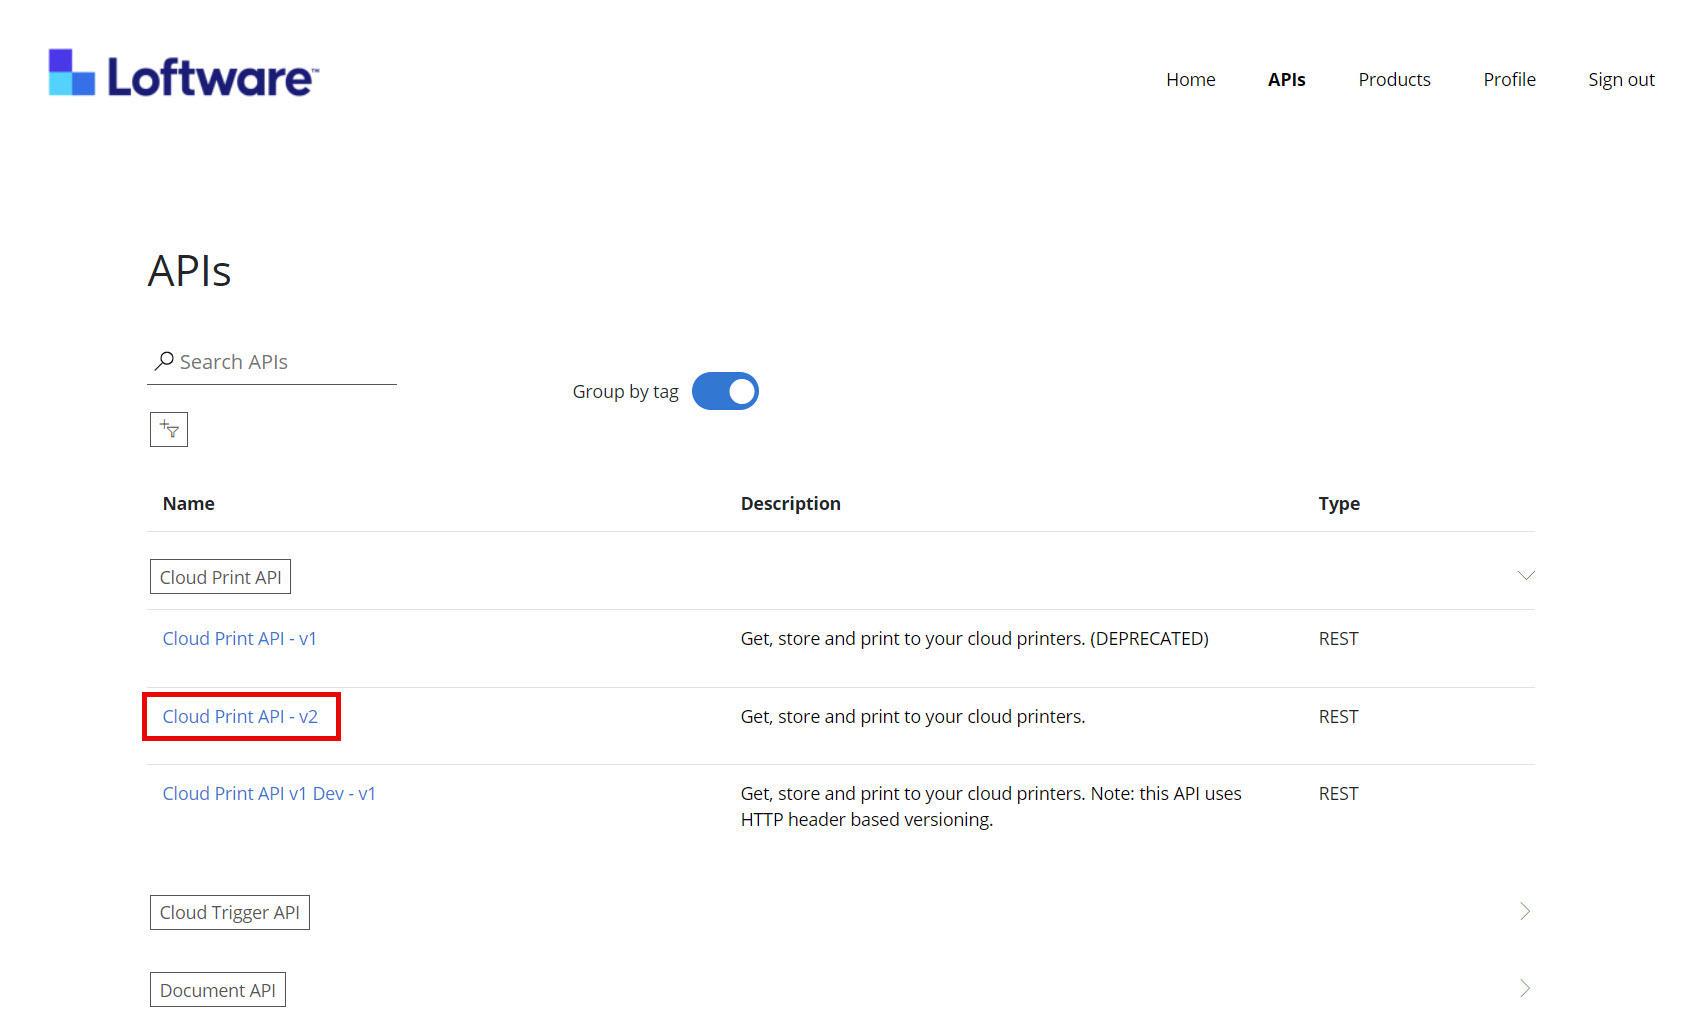
- Go to APIs > Cloud Print API - v2. The Cloud Print API page opens.
-
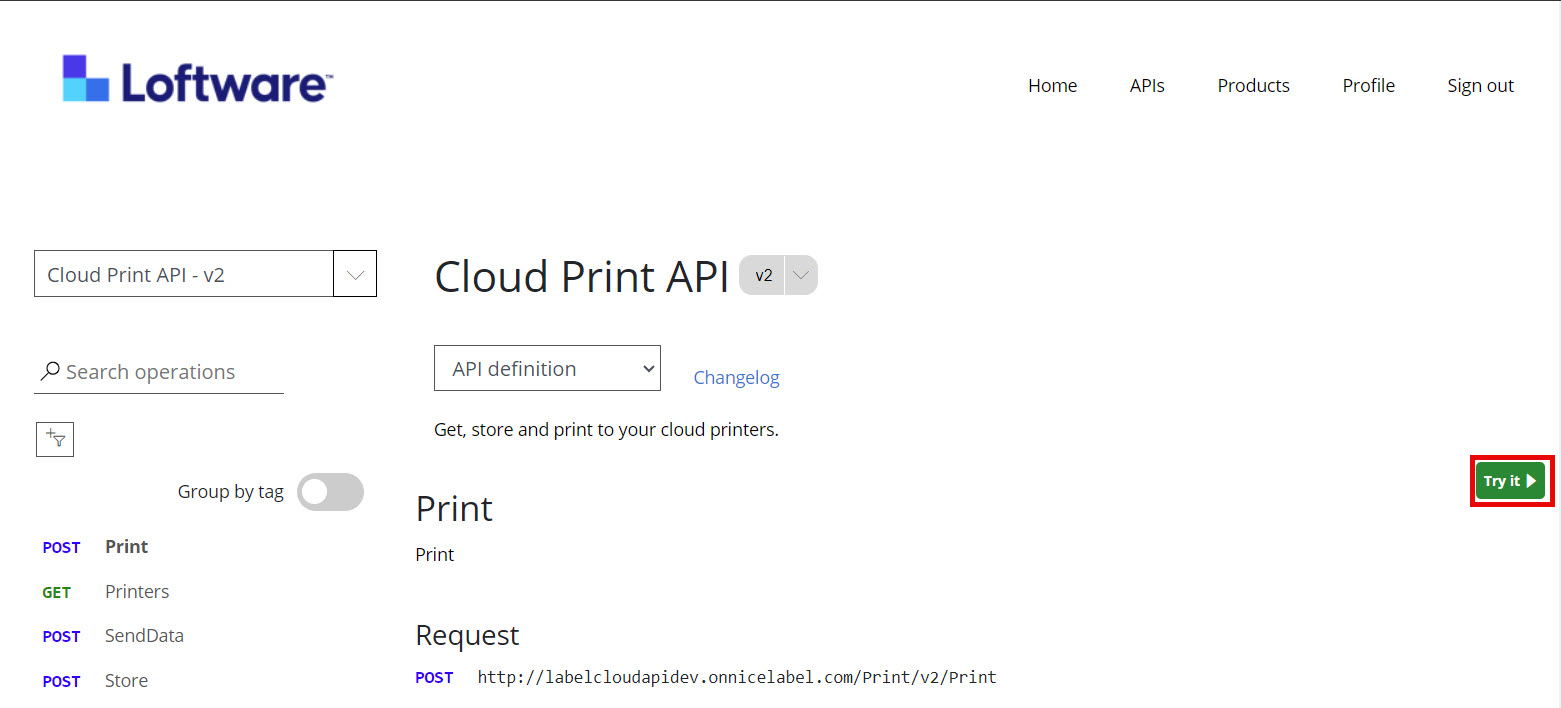
Go to Print and click Try it.
-
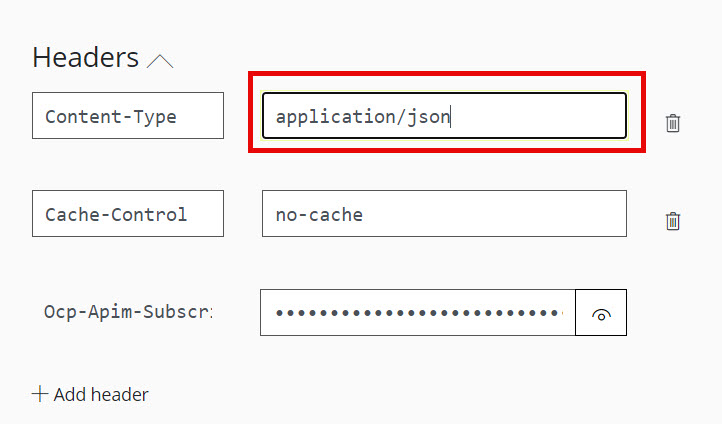
Select your content type (JSON or XML, your Request body changes).
In your Request body:
Note: Only use JSON format for the Request body.
-
Type your printer deviceType and deviceId (including printerName and workstation).
Note: To get your deviceType and deviceId, go to the Cloud Print API page > GET Printers API > Try it. Select or confirm your subscription key and click Send. In Response content, you see all your connected printers in JSON format. Find your selected printer and copy the data.
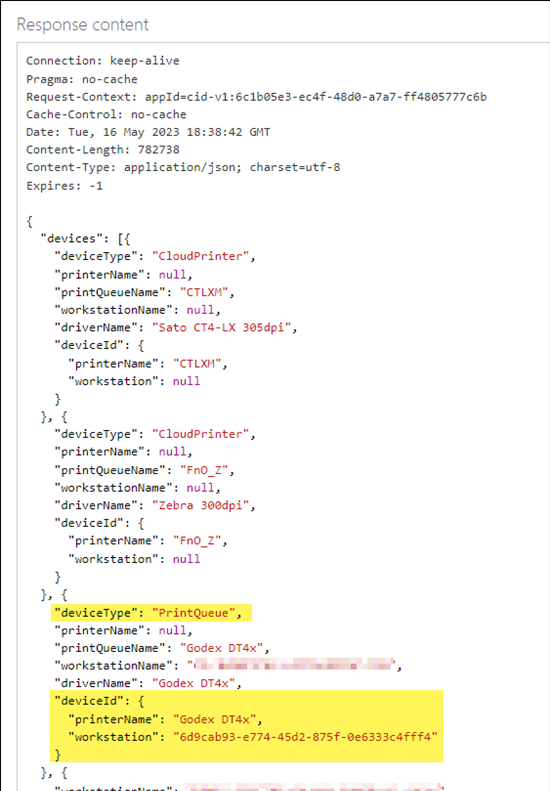
The deviceType identifies the type of printer:
-
CloudPrinter refers to printers with built-in cloud printing capabilities. Cloud printers must be connected to Loftware Cloud.
-
PrintQueue refers to other (non-cloud) printers, installed on Loftware workstations.
-
-
Type the file path for your label in Document Storage in Control Center. You can use label files (.nlbl) or solutions (.nsln). For solutions, define your label name:
Label:
Copy"FilePath": "/MyFolder/MyLabel.nlbl",Solution:
Copy"FilePath": "/Labels/YourSolution.nsln",Label name:
Copy"LabelName": "YourLabel1",Note: LabelName is required only when your FilePath points to the solution file. If FilePath points to the .nlbl file, leave the LabelName empty. -
Optional: Set the printerSettings. To use specific printer settings, replace the "additionalProp" fields in the payload with a "devMode" field.
Your payload should look like this:
Copy"printerSettings": {
"devMode": "string"
},For the string value, use Base64-encoded DEVMODE.
Note: You can use DEVMODE to send printer settings directly to your printer with your print request. Read more about DEVMODE.
-
Type the quantity of labels to print. To print 3 labels, type:
Copy"Quantity": 3, -
Set the dataSources, where appropriate. For labels with static content or test prints, delete this section.
Note: You can use multiple arrays for each label. The example below shows one array in "dataSources". The print out will be one label with values, set in the array. Each item in the array provides key-value pairs for a separate label. You can print multiple labels in a single request with the Cloud Print API.
Copy{
"deviceType": "CloudPrinter",
"deviceId": {
"printerName": "Warehouse1",
"workstation": null
},
"filePath": "/Labels/ShippingLabels/helloworld.nlbl",
"quantity": "1",
"dataSources": [
{
"WHS_LABEL_ID": "012345",
"LICENSEPLATE_ID": "012345",
"LABEL_NAME": "helloworld",
"BATCH_ID": "BAT12345",
"PROD_DATE": "2024-07-17",
"EXP_DATE": "2025-07-17",
"NET_WEIGHT": "1,00x500,00",
"PRODUCT_NAME": "FreshPasta500",
"ITEM_ID": "LOT12345"
}
]
} -
Optional: Define your file version in the FileRevision field. If you provide FileRevision, that exact label version prints.
Note: If you skip the FileRevision field, the last approved version of your label template prints. If you use an empty value for FileRevision, the last saved version prints, if the label is checked-in. If the label is not checked-in, the working copy of your label prints.
-
Remove the lines for any skipped fields.
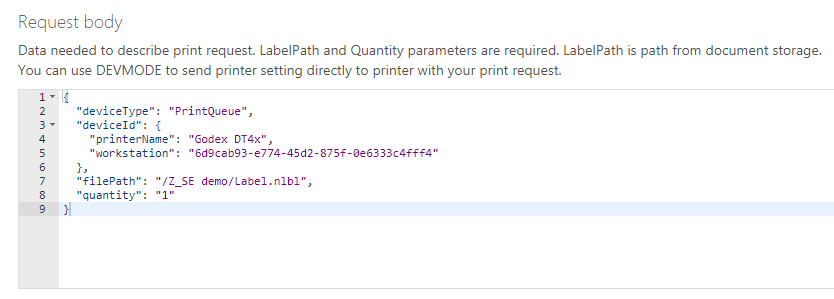
An example of a populated Request body with the minimum required fields (Revision, Print Settings, and Data Sources were not used).
-
Click Send.
The results depend on your deviceType.
-
When you print to your cloud connected printers (deviceType = CloudPrinter), the Cloud Print API generates the print job in the cloud and delivers it to the printer.
-
When you print to non-cloud or local printers (deviceType = PrintQueue), the Cloud Print API forwards the request to the locally installed Loftware Print Service. It creates a print job locally using the installed printer driver and sends the job to the printer using Windows Spooler.
 more
more